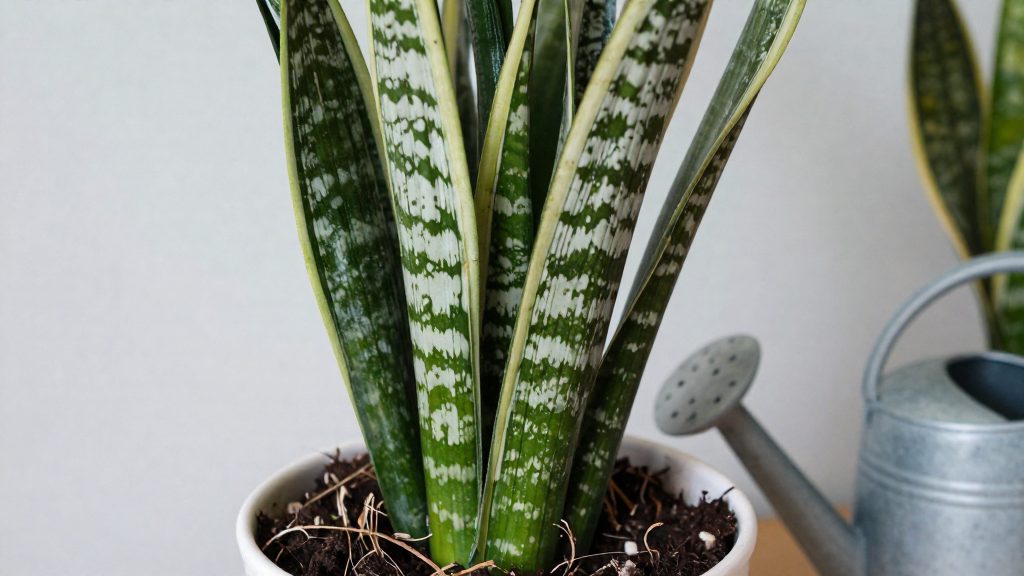
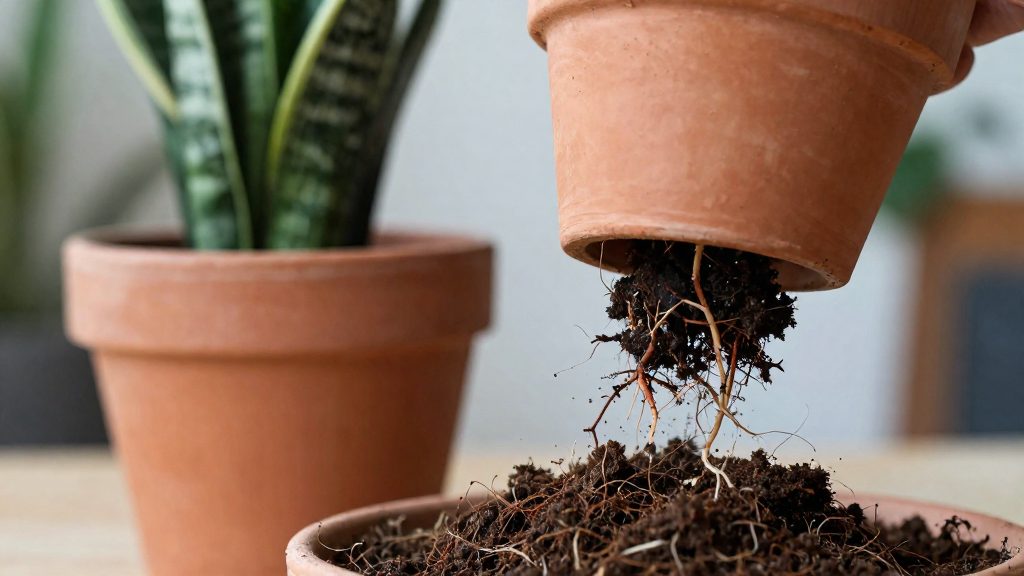
A snake plant needs repotting when its roots have outgrown the container. According to Green Matters (2023), repot a snake plant when the pot cracks or roots grow out of the drainage holes. A pot that bulges outward or a plant that tips over can also suggest the roots have filled the container, but these are general observations and not from the source.
Signs your snake plant needs repotting
Two signs come from the source: a cracked pot and roots growing out of the drainage holes. Bulging and tipping are additional general observations. A cracked pot and roots growing out of the drainage holes point to a root system that has used up the space in the container. Tipping can have other causes, so check the roots before drawing that conclusion.
Pot cracking or bulging under root pressure
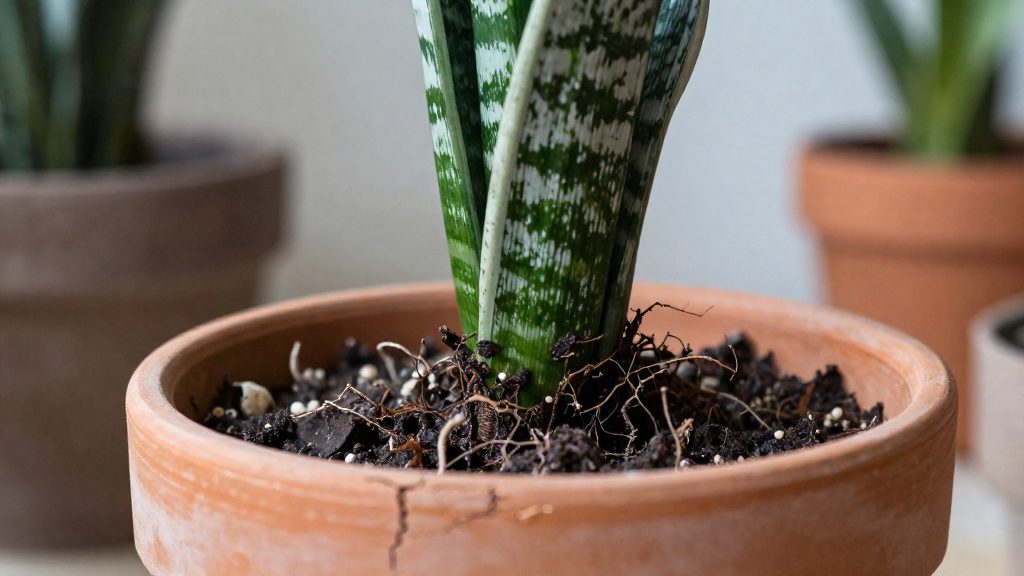
As roots thicken, they push outward against the container walls. Inspect the outside of the pot for splits, hairline cracks, or sections where the walls have swollen outward. A pot that is cracking or bulging shows that root pressure has exceeded what the container can hold. Replace the pot before the cracks widen, since a damaged container no longer supports the plant properly. The official sources consulted do not specify a size or age at which a given pot material will fail.
Roots growing out of drainage holes
Roots that emerge from the drainage holes are a trigger for repotting, according to Green Matters (2023). Green Matters (2023) lists this as a trigger for repotting. Roots reaching the holes mean the root system has reached the edge of the container and is searching for more room.
Plant tipping or becoming top-heavy
A snake plant grows tall, upright leaves from a compact base. When the root ball fills the pot and has little soil left to grip, the plant can lean or tip. To test stability, press gently on the base of the plant. If the plant tilts easily, it is not anchored well. Crowded roots can be one cause. Others include a light pot, loose soil or rotted roots, so check the roots before deciding. The official sources consulted do not specify how far a plant can lean before repotting is necessary.
| Sign | What to check | What it indicates |
|---|---|---|
| Cracked or bulging pot | Outside walls for splits or outward swelling | Root mass pressing against the container |
| Roots at drainage holes | Underside of the pot | Roots have reached the edge of the container |
| Tipping or top-heavy plant | Stability when the base is gently pressed | Root ball is not anchoring the leaves |
When is the best time to repot?
The sources consulted do not specify a calendar month for repotting a snake plant. Green Matters (2023) ties the decision to the pot and root condition rather than a fixed date. The practical rule is to repot when the plant is healthy enough to recover from root disturbance, because the plant’s state at the moment it leaves the pot matters more than the month.
Growth window. Repotting is most likely to succeed while the plant is actively producing new growth, which for many houseplants means spring to early summer. The sources consulted do not confirm this window for snake plants specifically, so treat it as a general horticultural guideline. A plant that is putting out new leaves has more capacity to rebuild roots in fresh soil.
Avoid winter dormancy. Winter is generally a poor time to repot. Growth slows during the cooler months, so the roots are less able to settle into new soil after being disturbed. Moisture left around roots in a slow period also raises the risk of rot. If the pot cracks in winter, repot promptly, because a failing pot is the source’s trigger. Keep handling to a minimum and avoid unnecessary root work.
Avoid repotting a stressed plant. Do not repot a plant that is already struggling, such as one with widespread brown leaves, waterlogged or bone-dry soil, or recent damage. Root disturbance adds stress on top of existing stress. A plant in general decline should be stabilised first, with its condition assessed before any roots are touched.
| Plant condition | Suitable for repotting? |
|---|---|
| Healthy, with new growth in spring or early summer | Yes, the most favourable window |
| Winter, when growth is generally slower | Avoid unless the pot has cracked |
| Visibly stressed (brown leaves, rot, damaged roots) | Wait until the plant recovers, unless the pot is failing |
What pot and soil should you use?
A snake plant should generally move into a container one size larger than its current pot, with drainage holes in the base. This is general practice, since Green Matters (2023) says only to center the plant in a larger pot. According to Green Matters (2023), repotting is needed when the pot cracks or roots grow out of the drainage holes, and the plant should be centered in the new, larger container. Pot size, drainage, and substrate together determine whether the roots stay healthy after the move.
Choosing the pot size
Step up by one size only. The source advises centering the plant in a larger pot. Avoiding a much larger one is general practice. A container that is far wider than the root ball holds more soil than the roots can use, and that extra soil stays wet longer, which raises the risk of root rot. The new pot should leave room for the roots to spread while keeping the plant firmly supported.
Drainage holes and pot material
Drainage holes are essential. Roots growing out through the holes in the old pot are the signal that the plant has outgrown it, so the new container should have at least one hole in its base. Green Matters (2023) does not compare pot materials. In general gardening practice, terracotta is porous and lets the soil dry faster, while plastic retains moisture longer. Either material works if the drainage is adequate. A porous pot is less forgiving of infrequent watering, while a plastic pot needs more care to avoid soggy soil.
Substrate type
Use a fast-draining substrate, such as a cactus or succulent potting mix. The consulted source does not specify a composition. Dense garden soil or moisture-retaining mixes hold water around the roots. The source warns against overwatering after repotting, and a fast-draining mix, in general practice, makes that easier to follow.
| Factor | Recommendation | Basis |
|---|---|---|
| Pot size | One size larger than the current pot | Green Matters (2023): center the plant in a larger pot |
| Drainage | Hole or holes in the base | Green Matters (2023): roots grow out of drainage holes |
| Substrate | Fast-draining cactus or succulent mix | General practice; the source does not specify composition |
How do you repot step by step?
Moving a snake plant to a new container takes three stages: lifting it out of the old pot, freeing any roots that resist, and setting it at the right height and position in the new one. Green Matters (2023) gives the core steps: lift the plant out gently, free any stuck roots, then center it in the larger pot at the correct height.
Lifting the plant out
- Hold the base of the plant with one hand, close to the soil line, so the leaves are not used as a handle.
- Support the bottom of the pot with the other hand.
- Wiggle the pot gently until the root ball starts to loosen, then lift the plant straight up.
Freeing stuck roots
If the root ball does not come free, Green Matters (2023) describes two options: loosen the soil with a trowel, or cut a plastic pot open. Work the trowel around the inside edge of the pot to separate the soil from the wall, then try lifting again. For a plastic pot, cutting it open is a reasonable way to remove the pot without pulling on the root ball. This reasoning is general practice, not a point made by Green Matters (2023).
| Situation | Method |
|---|---|
| Root ball loosens with gentle wiggling | Lift by the base, no tools needed |
| Soil is stuck to the pot wall | Loosen the edge with a trowel |
| Plastic pot is still stuck | Cut the pot open |
Centering and setting the height
- Place the plant in the larger pot and center it, so it is not leaning toward one side.
- Fill in soil around the root ball.
- Leave about an inch between the soil surface and the rim. This gap is the headspace that allows room for watering without overflow.
- Check that the plant sits firmly. Press the soil gently around the base so the plant does not rock when nudged.
The official sources consulted do not specify a set number of firming passes or a required pressure, so the test is whether the plant stays upright on its own.
Should you trim or divide the roots?
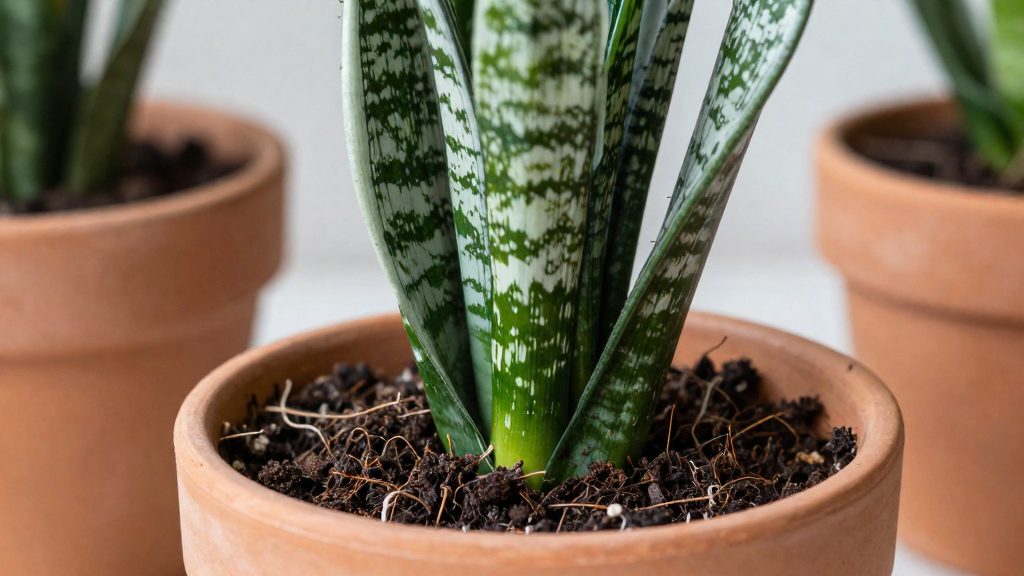
Root work on a snake plant is limited to three tasks: removing loose soil, cutting out damaged tissue, and, if you want more plants, dividing the clump or taking stem cuttings. According to Green Matters (2023), this inspection happens right after the plant leaves its pot and before it goes into fresh soil. The method does not call for trimming healthy roots, so every cut should target something dead, damaged, or unwanted.
Combing excess soil from the roots
Once the plant is out, use your fingers to comb through the root ball and loosen the old soil. Working by hand lets you see how the roots are arranged and spot any that look damaged, without reaching for tools that could cut sound tissue. The aim is to remove excess soil, not to strip the root ball bare.
Cutting damaged roots and brown leaves
Next, remove the brown leaves and any damaged roots. Brown leaves can be cut at their base. Using clean, sharp tools is general practice. In general practice, damaged roots tend to be discoloured, soft or broken, and you can spot them while combing. Leave the healthy roots in place.
Dividing clumps or taking stem cuttings
If you want to propagate, division or stem cuttings can be done at this stage, according to Green Matters (2023). Division separates a clump into sections that each carry their own roots, and each section is then potted separately. Stem cuttings are taken from the plant itself instead. The consulted sources do not specify how many sections to make or the exact method for stem cuttings, so decide these based on the size of your clump and the plant’s condition.
| Task | Purpose | When |
|---|---|---|
| Comb excess soil from roots | Expose the root structure and remove loose soil | Immediately after removal from the pot |
| Cut brown leaves and damaged roots | Remove dead or damaged tissue | After combing |
| Divide clump or take stem cuttings | Propagate the plant | Only if propagation is wanted, at this stage |
How to care for it after repotting
After repotting, a snake plant needs restraint with water. Green Matters (2023-06-29) advises avoiding overwatering, because the roots have just been handled and the new soil is not yet settled around them. The first watering should be decided by the state of the soil, not by the calendar.
Before watering, check whether the soil in the new pot is still moist. If it was already moist when you finished potting, wait a few days before the first watering. The official sources consulted do not specify an exact interval, so judge it by the soil itself: press a finger into the mix and see whether it still feels damp.
Once the soil has dried out, return to your normal watering routine. Resuming too early is the main risk, so the dryness of the soil should set the timing rather than a fixed schedule.
| Soil condition after repotting | What to do |
|---|---|
| Still moist | Wait a few days before the first watering |
| Fully dried out | Resume the normal watering routine |
Keep the plant in its usual position while it settles, and avoid moving it around during the first days. Check the soil at each visit rather than watering on a routine, since the moisture left from potting can persist longer than expected.
Source: Green Matters (2023-06-29).
How often should you repot a snake plant?
The repotting interval for a snake plant is set by how its roots fill the container, not by a fixed calendar date. According to Green Matters (2023), the decision depends on the condition of the pot and the root system. A plant whose roots still have room can stay in its container longer. The official sources consulted do not specify a set number of months or years between repottings, so the practical method is to judge each plant by what its roots and pot look like at the time of inspection.
Root growth rate determines the pace. A plant whose roots expand quickly fills its soil sooner than a slow-growing one, so two snake plants of the same age in identical pots may not need attention at the same time. Pot condition is the second part of the assessment. A container that no longer holds the root mass is the signal to act, not the number of weeks since the last repotting.
Established plants are judged the same way as younger ones. Their age does not decide whether repotting is due. The sources consulted do not give a separate interval for mature specimens, so the root check remains the deciding factor.
Check the pot and the drainage holes regularly. Lift the plant out only when a sign suggests it needs repotting.
| Check at removal | Action recommended by Green Matters (2023) |
|---|---|
| Root mass covered in soil | Comb your fingers through the roots to remove excess soil |
| Propagation wanted | Division or stem cuttings can be done at this stage |
Record what you find at each inspection, such as how much soil the roots hold and whether any roots look damaged. Comparing notes over time shows whether the plant is filling its pot faster or slower than before.
Frequently asked questions
How can I tell my snake plant has outgrown its pot?
According to Green Matters (2023), the two clearest signs are a cracked pot and roots emerging from the drainage holes. Check the underside of the pot as well as the rim, since the holes are easiest to inspect from below. Tipping can also occur, but it may come from a light pot or rotted roots, so look at the roots before assuming the pot is too small.
How do I get a snake plant out of a stuck pot?
Hold the base of the plant with one hand and the bottom of the pot with the other, then wiggle it out gently. According to Green Matters (2023), if it is stuck, you can cut open a plastic pot or loosen the soil with a trowel. Once the plant is out, comb your fingers through the root system to clear away loose soil.
How soon can I water a snake plant after repotting?
Green Matters (2023) advises against overwatering after repotting. If the soil was already moist, wait a few days before watering. Return to your normal routine once the soil has dried out, rather than watering on a fixed calendar.