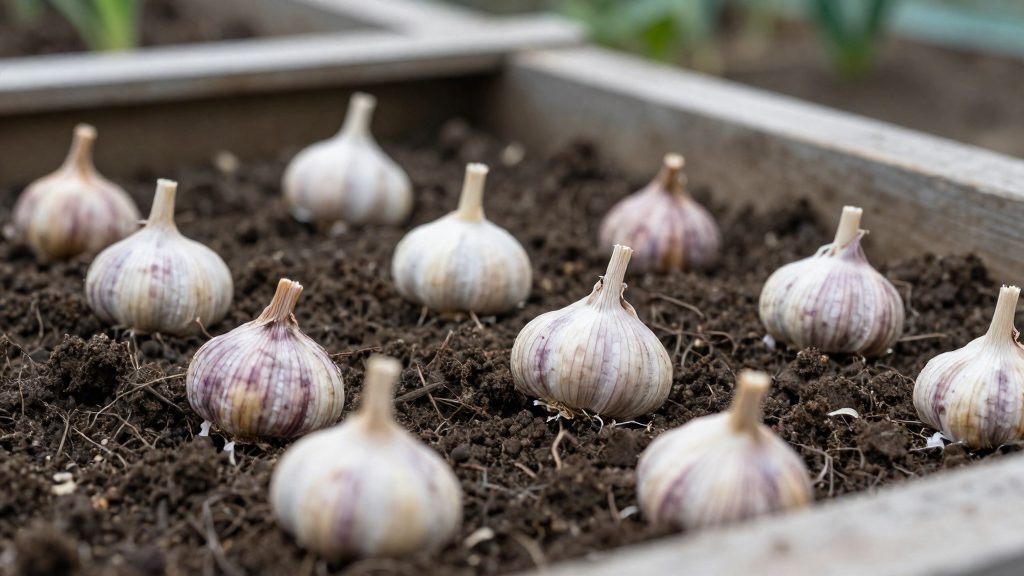
Fall planting gives garlic time to establish roots before winter. The sources consulted do not explain how winter cold affects bulb formation in spring, and they do not quantify how much earlier fall-planted garlic grows than spring-planted cloves. The points below cover only what they document.
Why plant garlic in fall?
Root development before winter
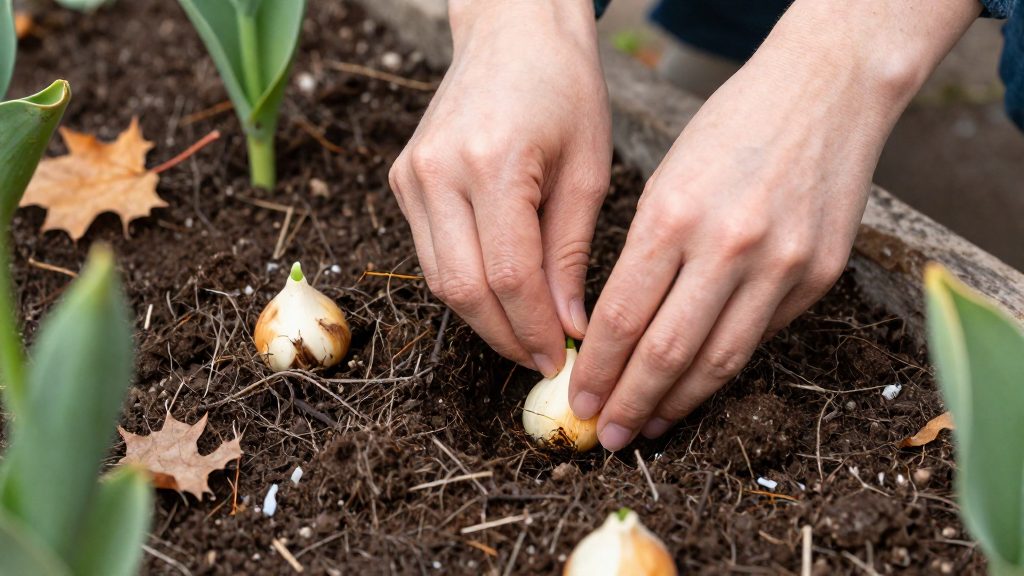
Fall planting is timed to the ground freeze, not to a fixed calendar date. The goal is for the cloves to have roots in the soil before the ground freezes. Planting is done with cloves root side down and upright, at least 2 inches deep, spaced 4 to 8 inches apart.
Soil conditions affect how well roots establish. Penn State Extension (2026) recommends a full-sun site with loamy soil amended with compost.
Winter survival and variety type
Cloves planted in fall must survive the cold season in the ground, so the type of garlic matters. The Old Farmer’s Almanac (2026) states that hardneck garlic is more winter-hardy than softneck, and that softneck suits milder climates. Choosing a type that fits local winter conditions is therefore part of planning a fall planting.
Spring growth and bulb formation
The sources consulted do not describe the link between cold exposure and bulb formation in spring, so this article does not state one. They also do not compare the timing of spring growth between fall-planted and spring-planted garlic. What they document is the sequence the fall method depends on: cloves placed in soil in the fall, roots developing before winter dormancy, and a bed prepared with suitable soil and mulch to support the cloves through the cold season.
When should you plant garlic cloves?
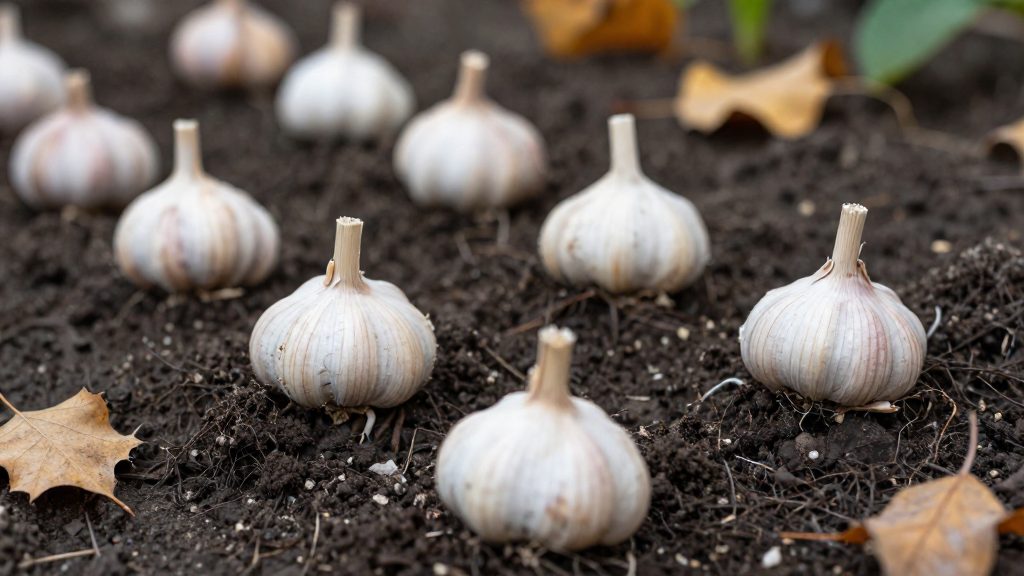
Fall planting is timed to frost, not to the calendar. According to Penn State Extension (2026-09-09), garlic should go in about three weeks before the ground freezes, so roots can develop before winter. The Old Farmer’s Almanac (2026-10-09) gives a second rule for cold climates: plant about one to two weeks after the first killing frost. The Old Farmer’s Almanac (2026-10-09) gives a typical planting window of September through November.
| Rule | Source | Reference point | Timing |
|---|---|---|---|
| Before the ground freezes | Penn State Extension (2026-09-09) | Ground freeze | About three weeks before |
| After the first killing frost | The Old Farmer’s Almanac (2026-10-09) | First killing frost | One to two weeks after |
| Typical window | The Old Farmer’s Almanac (2026-10-09) | Calendar | September through November |
Applying the two rules
The two rules point to the same goal: planting late enough that the soil is cooling, but early enough that the cloves have time to root before hard freezes arrive. The first rule is anchored to when the ground freezes, and the second to when the first frost kills tender plants. The two rules use different reference points: Penn State Extension anchors planting to the ground freeze, while the Almanac anchors it to the first killing frost in cold climates. The sources consulted do not say how the resulting dates compare in a given location, so check both against your local conditions.
Regional differences
The official sources consulted do not specify a separate planting date for milder-winter regions, so September through November remains the general reference there.
Which garlic should you buy for planting?
For fall planting, buy seed garlic from a reputable dealer or a local grower. Seed stock is grown for replanting, so it is the appropriate choice for a garden bed.
Why grocery-store garlic is a poor choice
Bulbs sold for cooking carry two problems for planting:
- Treatment: They are often treated to extend shelf life, which can affect how they sprout (Penn State Extension, 2026-09-09).
- Adaptation: They may not be suited to your climate or region (Penn State Extension, 2026-09-09).
Because of these risks, do not plant bulbs bought for the kitchen, even if they look healthy.
Where to source seed garlic
Two sources are recommended:
- Reputable seed garlic dealers, who sell stock intended for planting.
- Local growers, whose stock is more likely to have performed in conditions similar to your own garden.
Ask the seller which type they grow and where it has been grown. This information helps you judge whether the stock fits your area.
Choosing the largest cloves
Select the largest cloves from each bulb for planting (Penn State Extension, 2026-09-09). The official sources consulted do not specify a minimum clove weight or diameter, so judge size relative to the other cloves in the bulb.
Hardneck or softneck
The two main types differ in climate fit and yield, as shown below (The Old Farmer’s Almanac, 2026-10-09).
| Trait | Hardneck | Softneck |
|---|---|---|
| Winter hardiness | More winter-hardy | Suits milder climates |
| Climate fit | Colder winters | Milder climates |
| Cloves per bulb | Fewer, larger | More, smaller |
| Storage life | Shorter | Longer |
How to prepare the soil and site
Three conditions decide whether a bed suits garlic: sun exposure, soil texture, and drainage. According to The Old Farmer’s Almanac (2026), garlic needs 6 to 8 hours of direct sun and fertile, well-drained soil. Penn State Extension (2026) recommends a full-sun site with loamy soil amended with compost. Correcting these conditions before planting is far easier than fixing them afterward.
Sun exposure comes first. Choose a spot that receives direct sun for 6 to 8 hours a day. A bed that is shaded for much of the day falls short of this range, and it is better to find a sunnier location than to plant garlic there.
Soil texture should be loamy, meaning a balanced mix that is fertile and holds moisture without staying wet. Work compost into the existing soil before planting to improve fertility and structure. The official sources consulted do not specify compost quantities, so mix it in at a rate that suits your existing soil.
Drainage determines whether the bulbs rot over winter. Heavy clay or poorly drained ground needs a raised bed, which lifts the root zone above waterlogged soil. The Old Farmer’s Almanac (2026) identifies raised beds as the solution for these conditions.
Rotation also belongs to site preparation. Penn State Extension (2026-09-09) advises waiting at least 2 years before planting garlic in the same spot again.
| Factor | Target condition | Correction |
|---|---|---|
| Sunlight | 6 to 8 hours of direct sun | Select a full-sun site |
| Soil texture | Loamy and fertile | Work compost into the soil |
| Drainage | Well-drained | Build a raised bed in heavy clay or poorly drained ground |
| Previous planting | No garlic in the last 2 years | Choose a different bed |
How to plant garlic cloves step by step
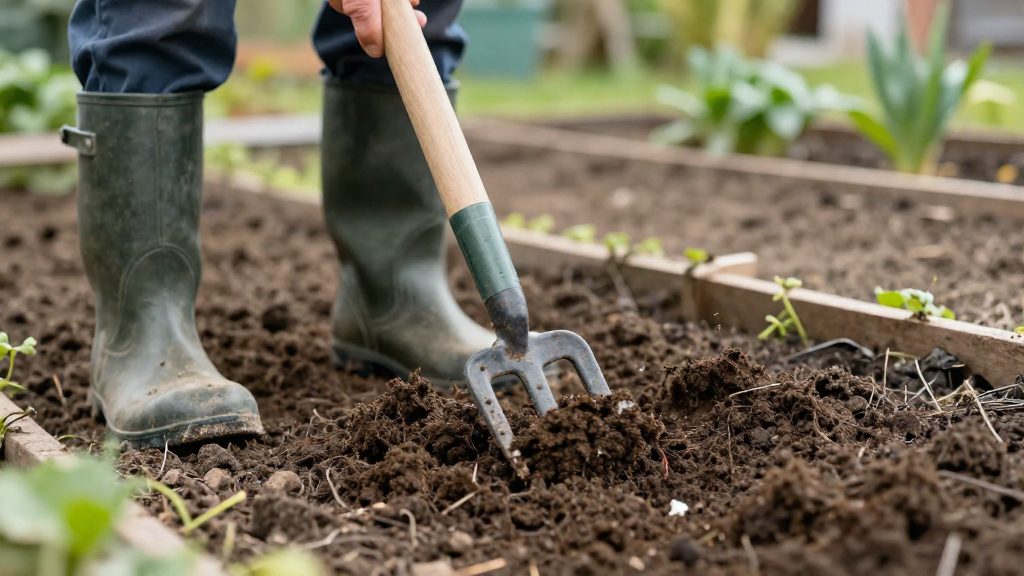
Planting garlic is a short sequence: separate the cloves, orient each one correctly, set it at the right depth, and space it evenly in the bed. Penn State Extension (2026-09-09) gives the core parameters, and The Old Farmer’s Almanac (2026-10-09) gives a similar range that is useful for cross-checking.
-
Separate the bulb. Break the bulb into individual cloves no more than one day before planting, according to Penn State Extension (2026-09-09). Keep each clove intact and avoid tearing its papery skin, since the clove is handled as a whole unit.
-
Orient each clove. Place every clove root side down and upright, with the pointed end up. Penn State Extension (2026-09-09) describes the position as root side down and upright, and The Old Farmer’s Almanac (2026-10-09) specifies the pointed end up. The two descriptions match.
-
Set the planting depth. Press each clove into the soil to a planting depth of at least 2 inches, per Penn State Extension (2026-09-09). The Old Farmer’s Almanac (2026-10-09) gives a range of 2 to 3 inches.
-
Space the cloves. Leave 4 to 8 inches between cloves according to Penn State Extension (2026-09-09), or 4 to 6 inches according to The Old Farmer’s Almanac (2026-10-09). Both sources agree on a minimum of 4 inches.
| Parameter | Penn State Extension (2026-09-09) | The Old Farmer’s Almanac (2026-10-09) |
|---|---|---|
| Orientation | Root side down, upright | Pointed end up |
| Depth | At least 2 inches | 2 to 3 inches |
| Spacing | 4 to 8 inches apart | 4 to 6 inches apart |
How do you mulch and care for garlic over winter?
Garlic planted in fall is protected over winter by a mulch layer, and the bulbs resume growth in spring. According to Penn State Extension (2026), the bed should be covered with about 4 inches of straw or shredded leaves after planting. The mulch covers the bed to support the cloves through the cold season. Keeping that layer in place and managing weeds and water in spring are the two main tasks until the bulbs swell.
Applying the winter mulch
- Material: straw or shredded leaves, according to Penn State Extension (2026).
- Depth: about 4 inches over the planted bed.
- Timing: apply it once planting is finished, so the cloves are covered before the ground freezes.
Keeping mulch in place through winter thaws
Mulch can shift during wind, heavy rain, or thaws, leaving patches of soil bare. Check the bed after each thaw and spread material back over exposed areas. Light material such as loose leaves is more likely to blow away, so placing it evenly and in full depth helps it stay put. The official sources consulted do not specify a schedule for removing or adjusting the mulch during the winter.
Spring weeding and watering until bulbs swell
- Weeding: remove weeds by hand where possible. Weeds compete with garlic for nutrients and water, and pulling them carefully avoids disturbing the bulbs near the surface.
- Watering: keep the soil from drying out while bulbs enlarge. The official sources consulted do not specify watering amounts or frequency.
Winter hardiness by garlic type
| Garlic type | Winter hardiness | Climate suitability |
|---|---|---|
| Hardneck | More winter-hardy | Colder regions |
| Softneck | Suits milder climates | Milder climates |
Both categories are described by The Old Farmer’s Almanac (2026). Choosing the type suited to your climate is part of planning for winter.
When and how to harvest and cure garlic
Garlic is ready to lift when its leaves begin to die back. For fall-planted garlic, the usual harvest window is June through August. According to The Old Farmer’s Almanac (2026), the practical cue is the foliage: harvest when about one-third to one-half of the leaves have yellowed or browned. Penn State Extension (2026-09-09) says to harvest when the leaves begin to die back and adds a second check on the bulb itself: harvest before the wrappers split.
Leaf dieback is the main timing indicator, and the bulb’s outer wrapper is the limit. Harvest before the wrappers split. Once they split, the bulbs have passed the recommended point.
| Indicator | Harvest timing |
|---|---|
| Leaves begin to die back | Start checking the bulbs |
| About one-third to one-half of leaves yellowed or browned | Harvest now (The Old Farmer’s Almanac, 2026) |
| Outer wrappers intact | Harvest window still open (Penn State Extension, 2026) |
| Outer wrappers split | Past the recommended harvest point (Penn State Extension, 2026) |
Lift the bulbs when the foliage shows these signs and before the outer wrappers split.
Curing the bulbs
Once lifted, the bulbs need to be cured in an airy, shady spot for about 2 weeks (Penn State Extension, 2026). Curing dries the bulbs gradually, so the spot should have good air movement and no direct sun. The full-sun site used for growing garlic is not suitable for this stage.