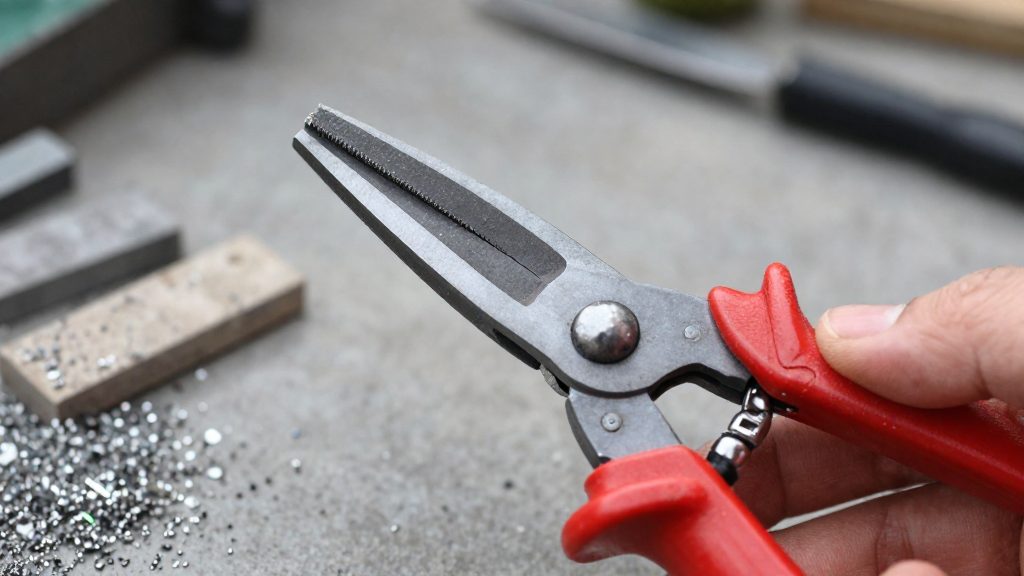
Why should you sharpen pruning shears?
Sharp pruning shears affect three things: the condition of the tissue left on the plant after each cut, how well a woody stem can recover from that cut, and how much force the gardener must apply by hand. Blade condition therefore matters for plant health, cut quality and comfort during a session. The points below explain each effect and the practical steps that support it.
What does a sharp blade change for the plant and the gardener?
Crushed stems invite pests and disease
A dull blade tends to crush a stem instead of slicing through it. A crushed surface is wider and more ragged than a clean cut, which gives pests and disease organisms more damaged tissue to use as an entry point. The official sources consulted do not specify which pests or pathogens are most likely to exploit these wounds on a particular plant, so this should be treated as a general principle.
Clean cuts seal more readily on woody stems
A clean cut leaves a smooth surface that the plant can seal more readily than a torn one. The official sources consulted do not give a healing timeline in days or weeks, so the benefit is qualitative: one decisive pass with a sharp edge produces a more regular wound than several hesitant passes with a dull one.
Sharp blades reduce hand strain and fatigue
A dull blade requires more hand pressure to complete the same cut, and the gardener compensates with a tighter grip and more force on each stroke. The sources consulted do not quantify how much effort a sharp blade saves, but reducing the force per cut lowers the load on the hand across a long session. Pivot upkeep also affects how easily the blades close. It is covered in the maintenance sections below.
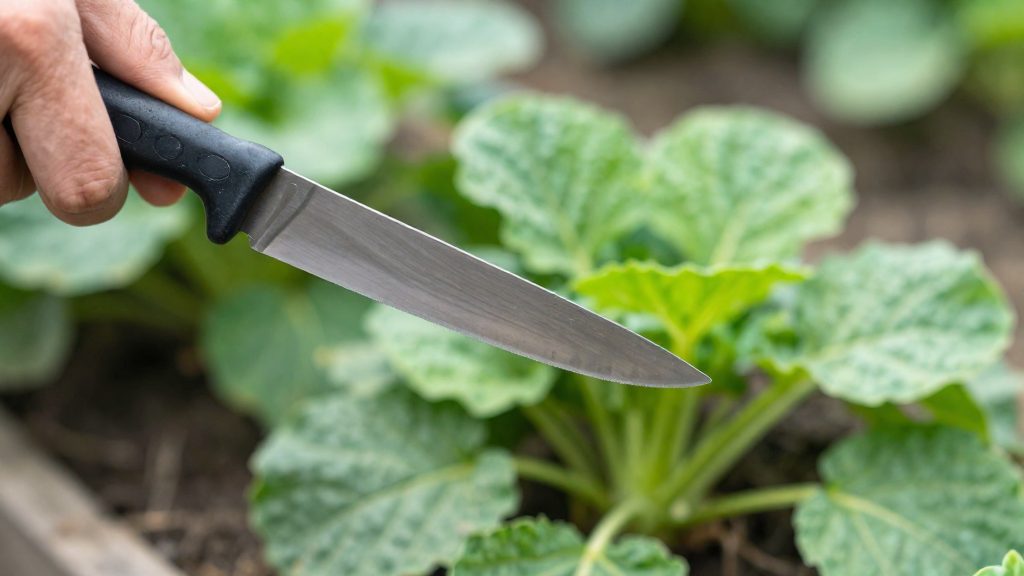
How do you know your shears are dull?
A dull blade shows its wear on the plant before it shows on the tool. Home for the Harvest (2026) lists four warning signs: crushed stems, frayed green tissue, shears slipping off branches, and the need for more hand pressure. Each sign reflects how the blade meets the wood, so checking the cut itself is the fastest way to decide whether the edge needs attention.
Crushed or torn stems instead of clean cuts
A sharp blade severs a stem in one pass and leaves a smooth, flat surface. When the edge is dull, the stem is squeezed before it is cut, so the end looks flattened or pinched, or the stem is torn apart rather than separated. Inspect the cut face after a few snips. A clean cut is even and smooth. A crushed or torn cut is ragged or flattened.
Frayed green tissue at cut surfaces
On green stems, a dull edge leaves fibres sticking out from the cut instead of ending flush with the surface. The tissue looks stringy or shredded. This happens because the blades pull the material apart instead of slicing through it. If the cut face looks fuzzy or frayed, the cutting edge has lost its effectiveness.
Shears slipping or needing extra pressure
These two symptoms usually appear together. If the blades slide along a branch instead of biting into it, the cutting edge is no longer gripping the wood. If you must squeeze harder than usual to close the handles on a stem that used to cut easily, the blades have lost efficiency. Test on a stem of similar thickness to your earlier cuts, so the comparison is fair.
Tools you need to sharpen pruners at home
Home sharpening needs only a few basic items. The most important choice is the file: according to Home for the Harvest (2026-10-27), a carbide or diamond-coated file is recommended because regular metal files dull quickly. A carbide or diamond surface keeps its abrasive cutting ability through repeated use, which makes it the practical choice for regular maintenance of the upper cutting blade.
Sharpening stones are an alternative. Today’s Homeowner (2024-11-01) describes working through stones from coarse to fine, roughly 120 to 1000+ grit, before removing the burr. Whichever abrasive you use, it should match the outer bevel of the upper blade only.
Protective gear is also part of the setup. Top Ten Reviews (2024-10-08), citing expert input from Ernest Wright, advises wearing work gloves while the pruner is clamped and filed. The sources consulted do not specify a particular type of eye protection, but wearing eye protection is a sensible precaution when filing metal.
The remaining items are used for setup and cleanup:
| Item | Purpose | Source |
|---|---|---|
| Carbide or diamond-coated file | Sharpens the outer bevel of the upper cutting blade | Home for the Harvest (2026-10-27) |
| Sharpening stones, about 120 to 1000+ grit | Coarse-to-fine sharpening sequence | Today’s Homeowner (2024-11-01) |
| Vice or stable surface | Holds the pruner steady during filing | Top Ten Reviews (2024-10-08) |
| Work gloves | Hand protection during clamping and filing | Top Ten Reviews (2024-10-08) |
| Rag | Wraps the blade if it is braced without a vice | Today’s Homeowner (2024-11-01) |
| Rubbing alcohol | Removes sap from the blades | Home for the Harvest (2026-10-27) |
| Steel wool | Removes light rust | Home for the Harvest (2026-10-27) |
| Paper | Tests the edge after sharpening | Home for the Harvest (2026-10-27) |
Clean and disassemble the shears
Before any filing, the pruner needs to be held still, opened where its design allows, and cleared of sap, dirt and surface rust.
Securing the pruner
- Clamp the pruner in a bench vise, or set it on a stable surface.
- If you brace the blade without a vise, Today’s Homeowner (2024) advises wrapping it in a rag first.
A pruner that shifts under the file makes it harder to keep a consistent angle, so securing it is the first step.
Disassembling the pruner
Take the pruner apart if the design allows it. Top Ten Reviews (2024), citing expert input from Ernest Wright, recommends setting the spring aside so it isn’t lost. Disassembly gives access to the blade and pivot area, which is easier to clean than the assembled tool.
Removing contaminants
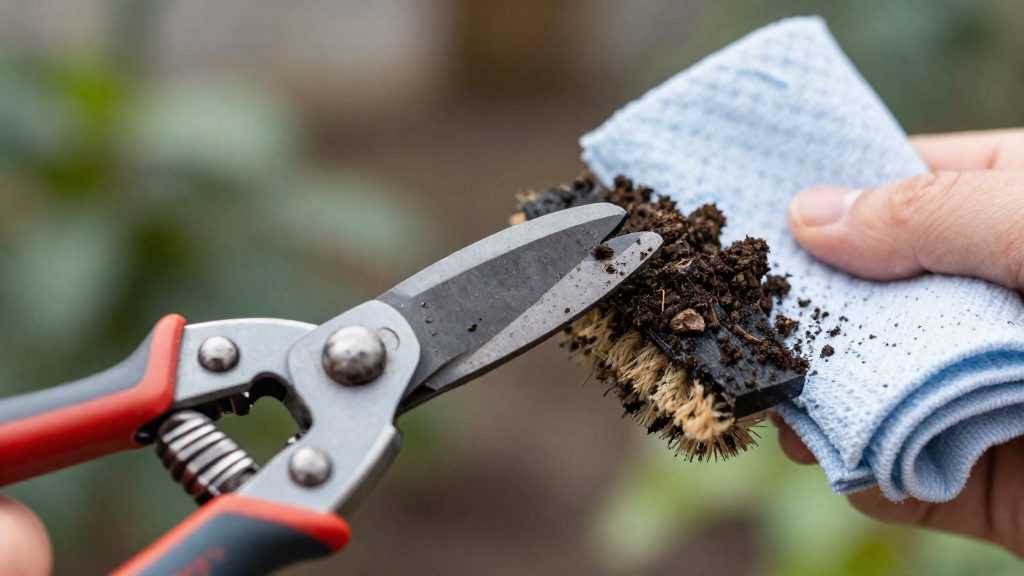
Clean the blade before any filing so the edge is bare metal and easy to inspect. Remove sap, dirt and surface rust, using rubbing alcohol for the sap and steel wool for light rust. Rust treatment is limited to light surface rust; deeper corrosion is not covered by the consulted sources.
How do you sharpen the bevel step by step?
On bypass pruners, only the outer bevel of the upper cutting blade needs sharpening. The hooked lower blade does not need sharpening, according to Top Ten Reviews (expert input from Ernest Wright, 2024-10-08). Each pass should follow the existing angle of that bevel so the original blade geometry is kept.
The steps below cover only the filing motion on the upper blade:
- Identify the upper blade. It is the straight blade that passes the hooked lower blade during cutting.
- Locate the outer bevel. This is the ground surface on the outside of the upper blade, which forms the cutting edge.
- Match the existing angle. Hold the file against the bevel at the same angle as the factory edge. Do not change the angle to try to remove nicks faster.
- Push from base to tip. Home for the Harvest (2026-10-27) describes pushing the file from the base of the blade toward the tip, lifting at the end of each stroke. Use about 10 to 20 strokes.
| Blade surface | Action | Reason |
|---|---|---|
| Outer bevel of upper blade | File at the existing angle | Keeps the original cutting geometry |
| Inside faces of both blades | Do not file | The hollow grind cannot be restored with consumer tools |
| Lower hooked blade | Leave unsharpened | It does not need sharpening on bypass pruners |
Filing that changes the angle or touches the inner faces alters how the blades meet, and this change cannot be reversed with consumer tools.
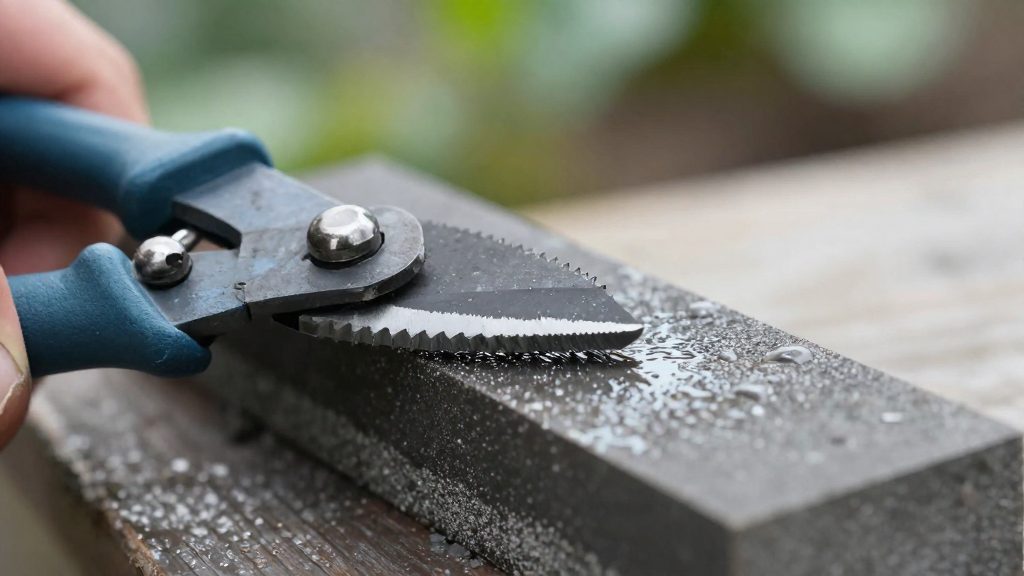
Remove the burr, oil and test the cut
Sharpening leaves a thin lip of metal called the burr along the edge. Removing it, oiling the pivot and checking the edge on paper are the final steps before the pruners return to use. According to Home for the Harvest (2026-10-27), the burr is removed with one or two light flat passes, and the blades and pivot bolt are oiled. Clearing the burr first matters because it can make a freshly sharpened edge feel and cut as if it were still dull.
Removing the burr
Wearing gloves or moving very carefully, slide a fingertip across the flat back of the blade, never along the cutting edge, to feel the lip. Hold the file or stone flat against the flat side of the blade, opposite the bevel, and make one or two light passes from base toward tip. The aim is to flatten the lip, not to remove more metal or change the angle. Work only on the flat side of the blade.
Oiling the blades and pivot
Oil the pivot and the blade surfaces, then reassemble the pruner with the spring in place so the blades open and close smoothly. Top Ten Reviews (expert input from Ernest Wright, 2024-10-08) lists this sequence for the pivot. Sluggish movement after reassembly means the pivot needs to be checked before the next step.
| Step | Action | Check |
|---|---|---|
| 1 | One or two light flat passes on the flat side of the blade | Lip is gone when the fingertip runs over the edge |
| 2 | Oil the blades and pivot bolt | Pivot area is lubricated |
| 3 | Reassemble with the spring in place | Blades open and close smoothly |
Testing the edge on paper
Test the edge on paper before returning the pruners to use. Close the blades on a sheet of paper and observe the result. A sharp edge slices cleanly. If the paper tears, crushes or only partly cuts, the edge is not ready.
How often should you sharpen pruning shears?
The sources consulted set a minimum schedule rather than a fixed number of cuts. According to Top Ten Reviews (2024), with expert input from Ernest Wright, pruners should be sharpened at least once per season. This baseline interval applies even when the shears have seen light use. The sources consulted do not specify a number of cuts, branches, or hours of use after which the blade needs sharpening, so the calendar alone is not a reliable guide.
The seasonal check is a floor, not a ceiling. The symptom-based sharpening rule takes priority over the calendar. Home for the Harvest (2026) lists the signs that shears need sharpening, and each one justifies sharpening before the next scheduled session. Sharpening on symptoms keeps the blade from being dragged through the wood, which is the situation the seasonal check is meant to prevent.
| Trigger | Action | Source |
|---|---|---|
| Minimum once per season | Sharpen as baseline maintenance | Top Ten Reviews (2024) |
| Crushed stems | Sharpen before continuing to prune | Home for the Harvest (2026) |
| Frayed green tissue at the cut | Sharpen before continuing to prune | Home for the Harvest (2026) |
| Shears slipping off branches | Sharpen before continuing to prune | Home for the Harvest (2026) |
| Needing more hand pressure than usual | Sharpen before continuing to prune | Home for the Harvest (2026) |
In practice, the interval is set by the blade’s condition and the season together. Check the blades at the start of each pruning period, and sharpen immediately if any trigger in the table appears during use. A pair that needs sharpening every time it is used is a sign that the baseline interval should be shortened for that tool.
Care and storage between sharpenings
Routine cleaning and dry storage slow the two problems that dull pruning shears fastest between sessions: sap residue and rust. Both affect the cutting edge and the pivot, so a few minutes of care after each use means the blade needs filing less often.
Clean after every use
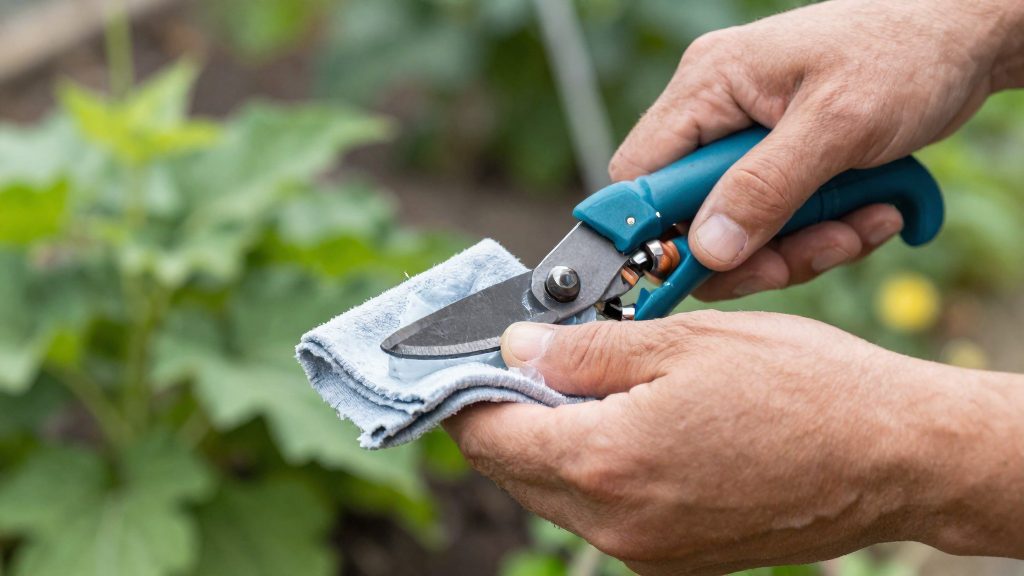
Clean and dry the pruners after each use, as recommended by Top Ten Reviews (expert input from Ernest Wright, 2024). Sap left on the blade dries into a sticky film that holds dirt and moisture against the steel. According to Home for the Harvest (2026), sap can be wiped off with rubbing alcohol. Apply it with a cloth, wipe both blades, and dry them fully before putting the tool away.
Wipe the pivot area as well, since residue there can make the action stiff. Open and close the blades a few times while wiping to check that the movement is still smooth.
Treat light rust early
Light rust can be removed with steel wool, according to Home for the Harvest (2026). Work on it while it is still surface-level, because a small patch takes less effort to clean than rust that has spread across the blade.
Store in a dry place
Store the pruners in a dry place, away from moisture. Damp sheds, basements, and tool bags that stay wet after work are the conditions to avoid, because moisture is what starts rust on bare steel. Keep the tool in a spot where the blades will not be knocked against other metal tools, which can nick the edge between sharpening sessions.
Frequently asked questions
How can I tell when my pruning shears need sharpening?
Watch the cuts and your hands. According to Home for the Harvest (2026), the main warning signs are crushed stems, frayed green tissue, shears slipping off branches, and needing more hand pressure than before. If you notice any of these, the blade is likely due for a session.
Which part of a bypass pruner should I sharpen, and should I file the inside?
Sharpen only the outer bevel of the upper cutting blade, and keep its existing angle. Top Ten Reviews (2024), citing expert input from Ernest Wright, notes that the hooked lower blade does not need sharpening. Do not file the inner faces, because the hollow grind cannot be restored with consumer tools.
What should I do after sharpening to finish the job?
Remove the burr from the back of the blade with one or two light, flat passes, then test the edge on paper. Home for the Harvest (2026) also recommends oiling the blades and the pivot bolt. Top Ten Reviews (2024) adds that the blades should open and close smoothly after reassembly.