Mulching perennial beds for winter works best when it goes on after the first hard frost, once the soil has begun to firm and the plants are fully dormant. Winter mulch limits soil moisture loss, moderates temperature swings during cold spells, and helps keep weeds from sprouting in spring. Use a weed-free material such as aged compost, pine needles or wood chips, spread it evenly around the base of each plant, and remove it from the plant tops once the danger of a hard frost has passed in spring.
Why mulch perennial beds for winter?
Winter mulch does three jobs in a perennial bed. It slows the loss of soil moisture over the cold months, it moderates temperature swings during cold periods, and it helps prevent weed sprouting in spring. According to Scotts Miracle-Gro Canada (2026), a manufacturer, mulch left around plants over winter provides all three benefits.
The layer works by covering the soil surface. Moisture already in the bed is held longer through the dormant season, and the soil stays more even in temperature than an exposed bed would. These effects depend on coverage, so a layer that is thin in patches or pulled away from some plants will protect those plants less.
When to apply winter mulch
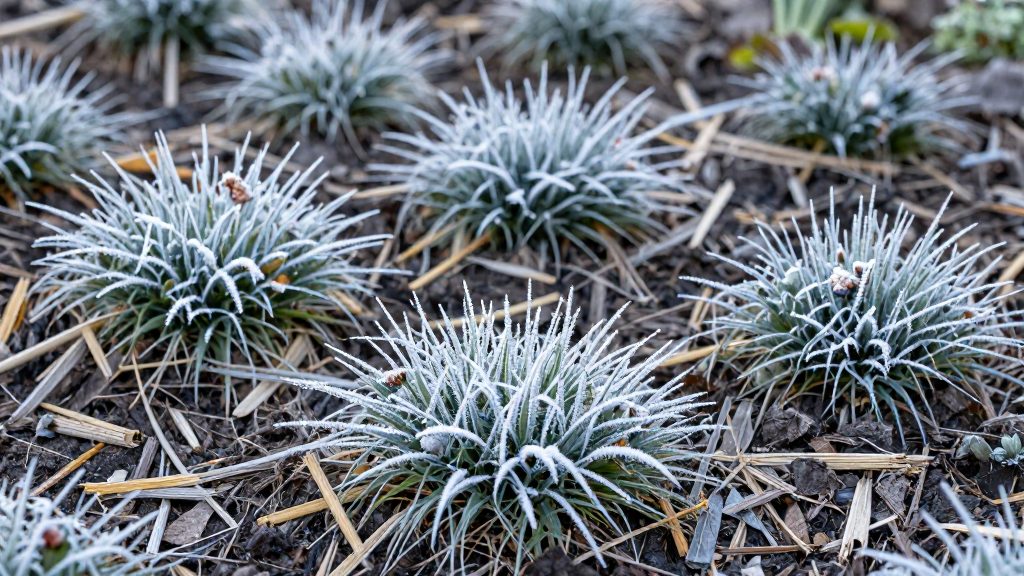
Apply mulch after the first hard frost, not before. Gardener’s Path (2026) ties the timing to air temperature, with mulch going on once temperatures have dropped to hard-frost levels. The threshold varies by region, so use local conditions rather than a fixed calendar date. Mulching earlier can keep perennials from going fully dormant, which is the most common timing error.
Before spreading, confirm the following:
- Air temperature: Watch the forecast in late autumn and wait for a true hard frost. If the forecast stays mild, hold off even if the calendar says the season has turned.
- Soil surface: The soil should be starting to firm up, so the mulch sits on a stable base.
- Plant growth: Active growth should have stopped. Mulch laid over growing tissue traps moisture and can interfere with the plant’s shutdown.
- Each bed: Inspect beds individually, since plants in the same garden may be at different stages.
How to spread and secure the mulch
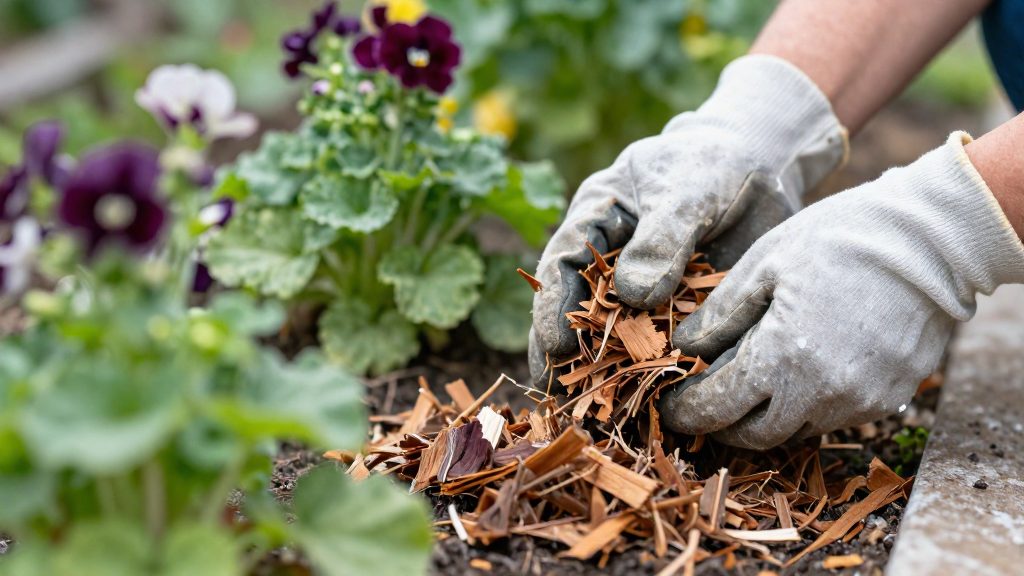
Spread mulch in an even layer rather than piling it in heaps. Gardener’s Path (2026) recommends a layer of at least several inches around the base of perennials, so the depth should be checked after spreading. Loose material settles and compresses over the season, so check the depth again in midwinter and top up any thin areas.
Loose mulch can blow off a bed during winter winds. Gardener’s Path (2026) recommends covering it with a row cover, an old sheet or burlap, laid over the mulched area so the material underneath stays in place. Anchor the edges with rocks, logs or garden staples so the cover does not lift or shift. After strong winds, check the cover, reposition the anchors, and smooth the mulch back underneath if it has moved.
Choosing a mulch material
Gardener’s Path (2026) lists aged compost, pine needles and wood chips as suitable mulches for perennials. Straw suits strawberries and annual crops, and leaves suit vegetable and fallow beds, so those materials belong in other bed types.
| Material | Suited to | Notes |
|---|---|---|
| Aged compost | Perennial beds | Listed as suitable for perennials |
| Pine needles | Perennial beds | Listed as suitable for perennials |
| Wood chips | Perennial beds | Listed as suitable for perennials; see rodent guidance below |
| Straw | Strawberries and annual crops | Not listed for perennial beds |
| Leaves | Vegetable and fallow beds | Not listed for perennial beds |
| Hay | Not listed | Can bring weed seeds into the bed |
Hay is the material to handle with the most care. Because it can introduce weed seeds, it works against the purpose of a winter mulch. For perennial beds, choose a material from the suitable list whenever one is available.
Protecting woody stems from rodents and rot
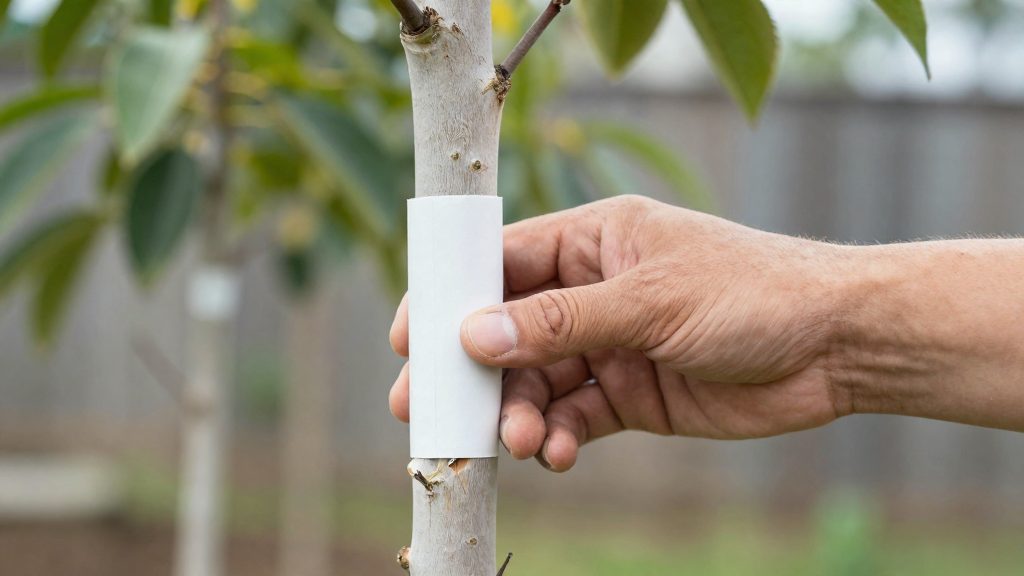
Mulch can shelter voles and mice and hold moisture against woody stems, so placement matters as much as the material. Gardener’s Path (2026) advises leaving a bare zone of a few inches around woody stems. Keep the mulch away from the stems instead of piling it against the trunk or base. A clear gap keeps the bark drier and reduces the damp, sheltered conditions where rot can develop.
The bare zone also addresses the rodent risk. Voles and mice feed on bark and can girdle stems when they tunnel under a thick, tightly packed mulch layer, so removing that cover at the stem base removes the shelter they need. Gardener’s Path (2026) reports that wood chips cause fewer slug and rodent problems than leaves or straw, which makes wood chips the better choice around woody plants where rodents have been a problem in earlier seasons. In late winter, check the bark at stem bases for chewing or other damage.
Whether to cut back perennials first
The official sources consulted do not address cutting back before mulching, so this section reflects general gardening practice rather than sourced advice. The decision depends on the plant and on what you want to keep in the bed. Lavender, aster and ornamental grasses are common examples where it comes up.
| Plant part | Condition | Action |
|---|---|---|
| Stems | Healthy and intact | Leave standing |
| Stems | Damaged or broken | Cut back to a clean point |
| Seed heads | Intact | Leave on the plant for birds |
| Seed heads | Rotted or matted | Remove |
| Foliage | Spotted, blackened or rotting | Remove and discard before mulching |
Remove diseased foliage before the mulch goes on, so it does not sit under the new layer. Standing stems can stay in place, and many gardeners leave them to shelter overwintering insects, although the official sources consulted do not specify which species use them or for how long.
When to remove winter mulch in spring
Spring removal follows a two-step sequence. According to Gardener’s Path (2026), you first wait until the danger of a hard frost has passed, then remove the mulch completely from the tops of the perennials so new growth can emerge. The official sources consulted do not give a spring date, so timing depends on your region and on the frost conditions you observe in your garden.
Keep the mulch in place while hard frosts are still possible. Once that risk has passed, rake or pull the mulch fully back from the crowns and tops of each perennial. Partial removal leaves emerging growth obstructed, so clear each plant completely.
Conclusion
Winter mulch protects perennial beds when it is applied after the first hard frost, spread evenly, anchored against wind, kept clear of woody stems, and fully removed from plant tops once the frost danger has passed. Choose a weed-free material from the suitable list, deal with diseased foliage before covering the bed, and check the beds through the season.