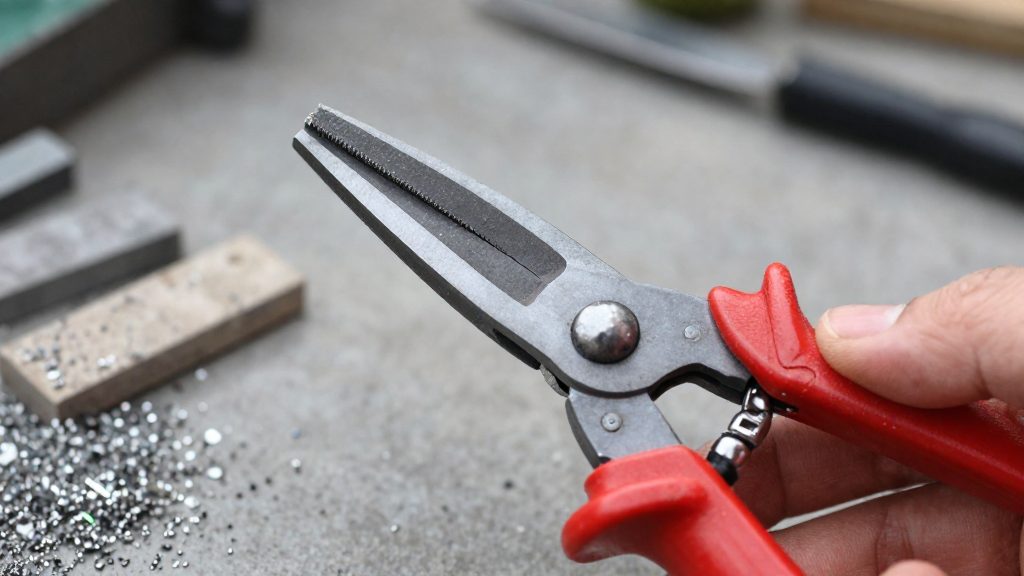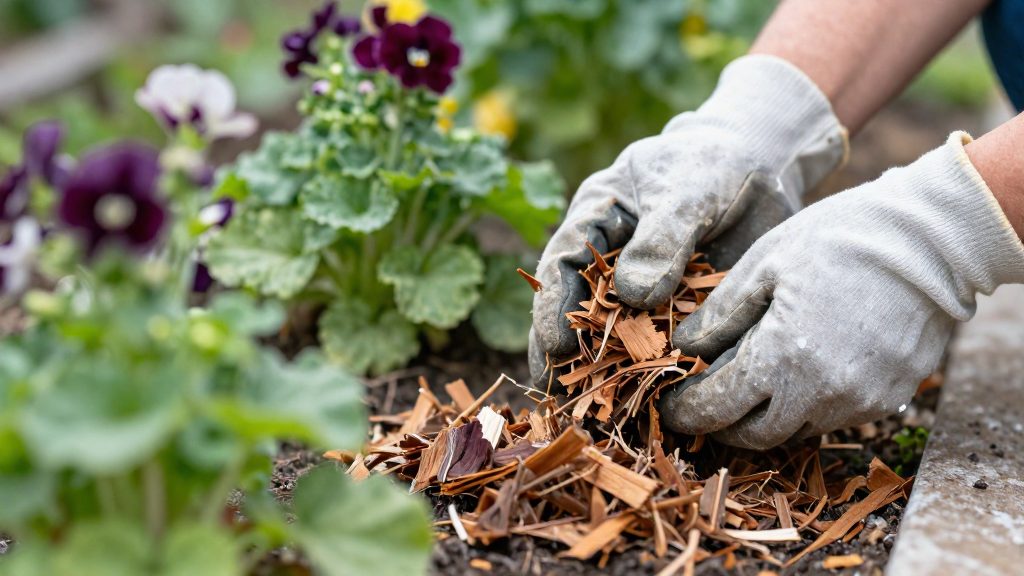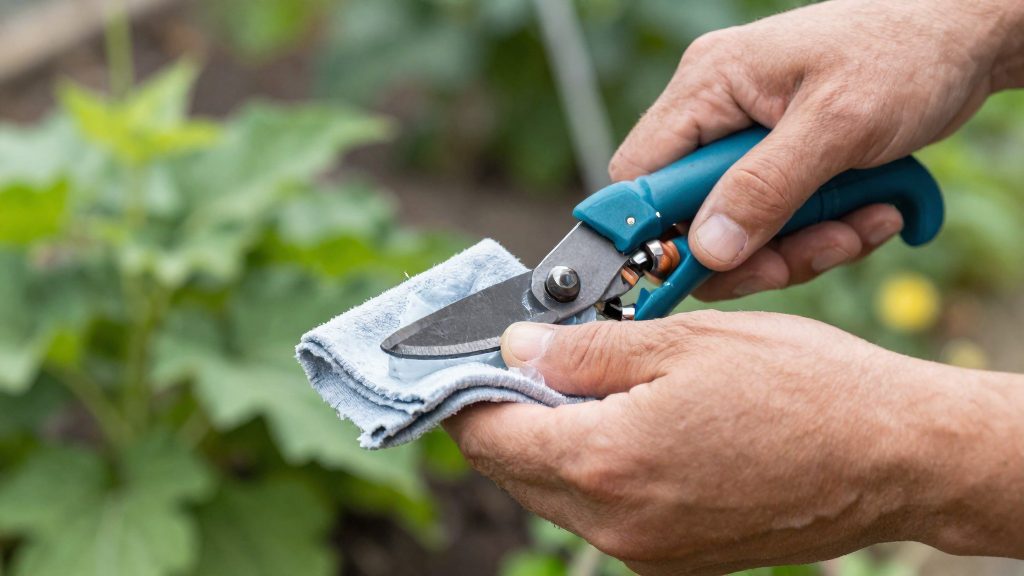
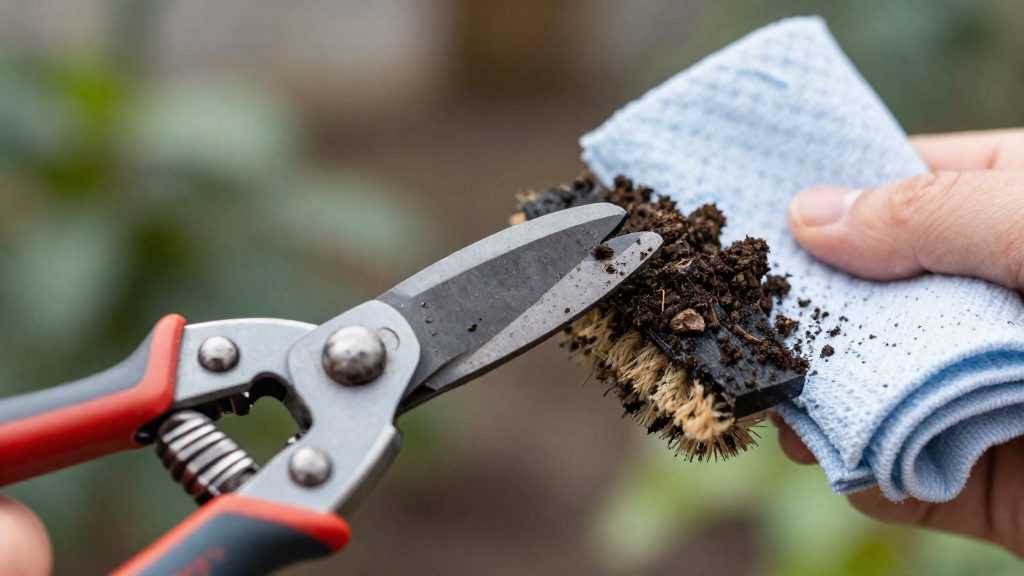
Cleaning garden tools before storage removes soil, sap and plant debris that hold moisture against metal and can carry plant pathogens through the off-season. Treated as preventive maintenance, this takes a few minutes per tool and protects blades, tines and handles that are costly to replace.
Why clean garden tools before storing them?
Residue left on a tool over winter works against it in two ways: it keeps moisture in contact with the metal, and it can hold living pathogens. The official sources consulted do not specify how long fungal or bacterial pathogens survive on tool surfaces over winter, so the reasoning below relies on the cleaning steps the sources recommend.
Corrosion from moisture on metal
Soil clinging to a blade or fork tine retains water after use and keeps the steel damp.
Pruning tools need extra attention. Niagara Now (Joanne Young, Ontario, 2022-11-10) advises lubricating the spring, bolts and other moving parts with machine oil, which keeps those joints working after a season in storage.
Overwintering of fungal and bacterial pathogens
Plant material left on tools can carry disease from one season to the next. Removing visible soil and debris clears the organic matter that pathogens can cling to.
Replacement cost versus routine care
The sources consulted give no prices, so this comparison is qualitative. Replacing a tool means buying a new head, blade or handle. Routine care requires brushing, washing, drying and occasional oiling after each session. A tool with a rusted joint or a pitted edge may not be worth repairing, so regular cleaning extends the working life of tools you already own.
| Residue or condition | Storage risk | Cleaning step |
|---|---|---|
| Soil and debris | Holds moisture against metal | Brush off, then wash with antibacterial soap and water (Epic Gardening, 2024-11-12) |
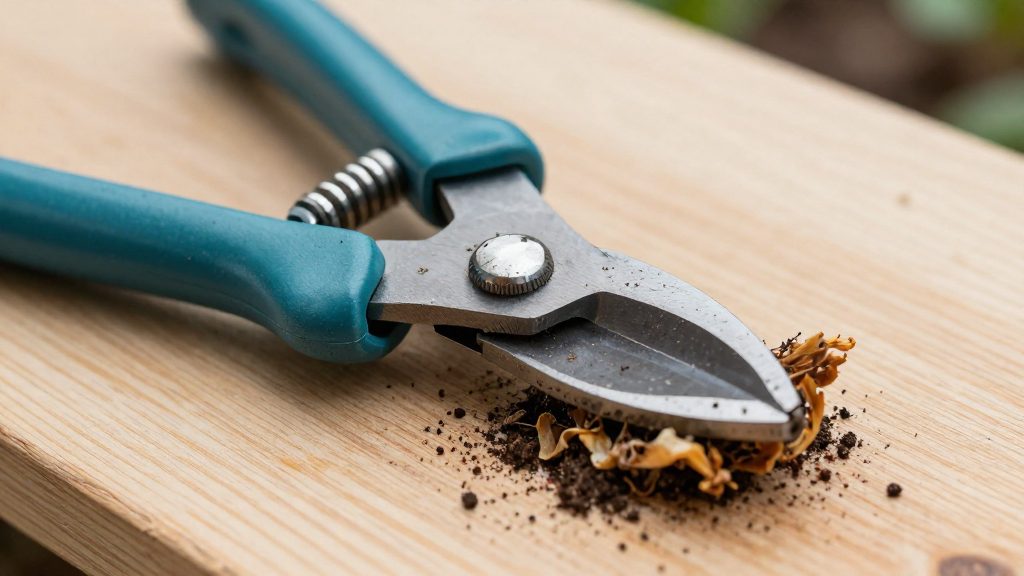
Remove soil and sap first
Brushing, washing and sap removal form the first pass in tool cleaning, and they come before any disinfecting or rust treatment. According to Epic Gardening (2024-11-12), the sequence starts by brushing off soil and debris, then washing with antibacterial soap and water, and only then disinfecting. Pruning tools need the same early step for sap, so residue is cleared before the tool is treated further.
Dry brushing
Start with the tool dry. Use a stiff brush to knock off dried soil and plant debris from blades, tines and handles. Brushing dry removes loose material without adding moisture, and it clears the working edges so that water in the next step reaches the metal more easily.
Rinsing with water
For shovels, rakes, hoes and forks, rinse off remaining dirt with water, according to Niagara Now (Joanne Young, Ontario, 2022-11-10). Scrub with a stiff brush only where soil stays after rinsing. For secateurs and loppers, wash off soil from the blades and joints with water before dealing with sap. For all other tools, Epic Gardening (2024-11-12) follows brushing with a wash in antibacterial soap and water, as set out in the disinfection section below.
Removing sap and resin
Sap on pruning tools is removed with steel wool, as recommended by Niagara Now (2022-11-10). Rub the wool along the blades and the area around the pivot, working on the sticky patches. Do this once the surface is rinsed and loosened, so the wool meets the sap directly rather than grit.
Summary of the first pass
| Tool type | First-pass action |
|---|---|
| Shovels, rakes, hoes, forks | Rinse off dirt with water; scrub with a stiff brush if needed (Niagara Now, 2022-11-10) |
| Secateurs and loppers | Wash off soil; remove sap with steel wool (Niagara Now, 2022-11-10) |
| All tools | Brush off soil and debris, then wash with antibacterial soap and water (Epic Gardening, 2024-11-12) |
Should you disinfect your garden tools?
Disinfection is a second step that follows washing. According to Epic Gardening (2024-11-12), the cleaning sequence runs in a fixed order: brush off soil and debris, wash with antibacterial soap and water, then disinfect with isopropyl alcohol or hydrogen peroxide. The sources set the order as brushing, washing, then disinfecting, so the wash is the step that prepares the tool for the disinfectant.
Step 1: Wash with antibacterial soap
The antibacterial soap wash comes before any disinfectant. Use antibacterial soap and water on the cleaned tool, then rinse it off. Use antibacterial soap and water on the cleaned tool, then rinse it off. The sources give this step for all tools, pruning tools included.
Step 2: Apply a disinfectant
Epic Gardening (2024-11-12) names two agents for this step:
| Agent | Position in sequence | Application |
|---|---|---|
| Isopropyl alcohol | After washing | Applied to the cleaned tool |
| Hydrogen peroxide | After washing | Applied to the cleaned tool |
The sources consulted do not specify dilution ratios, contact times, or how often disinfection should be repeated between uses.
Pathogens targeted
According to Epic Gardening (2024-11-12), the disinfection step is intended to address:
- Powdery mildew
- Bacterial canker
- Blight
How do you remove rust from garden tools?
Rust removal on garden tools follows three steps: soak the corroded metal in white vinegar, scrub off the loosened rust, and dry every part completely before storage. According to Niagara Now (2022), shovels, rakes, hoes and forks are soaked in white or cleaning vinegar for 12 to 24 hours, then scrubbed with a stiff brush or steel wool.
Step 1: Soak in white vinegar
- Submerge the rusted metal part in white vinegar for 12 to 24 hours.
- Niagara Now (2022) gives this range for shovels, rakes, hoes and forks. Epic Gardening (2024) recommends 24 hours, which is the upper end of this range.
- For secateurs and loppers, soak only the rusty blades, as Niagara Now (2022) advises.
Step 2: Scrub the loosened rust
- Use a stiff brush or steel wool to remove rust that the vinegar has loosened.
- Scour any spots that remain after the soak, per Epic Gardening (2024).
Step 3: Dry crevices and screw openings completely
- Dry the tool thoroughly, paying close attention to crevices and screw openings, where moisture collects and rust returns.
- Epic Gardening (2024) links complete drying to rust prevention, so this step matters as much as the soak.
Method summary
| Tool type | Soak | Scrubbing tool | Source |
|---|---|---|---|
| Shovels, rakes, hoes, forks | White or cleaning vinegar, 12 to 24 hours | Stiff brush or steel wool | Niagara Now (2022) |
| Secateurs and loppers | Vinegar for rusty blades only | Steel wool for sap and rust | Niagara Now (2022) |
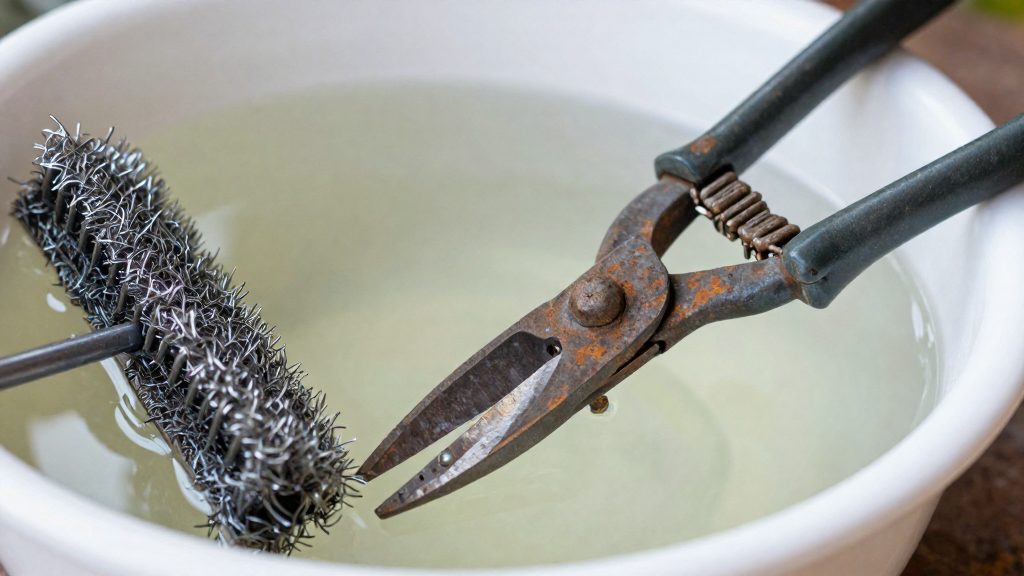
Sharpen and oil blades and handles
Sharpening and oiling are the last maintenance steps before tools go into storage. On bypass secateurs and loppers, only the bevelled edge of the blade is sharpened, which keeps the flat face intact so the two blades still meet cleanly. Moving parts then need lubrication, and wooden handles need sanding and oiling so they do not dry out over winter.
Sharpening bypass blades
- Sharpen only the bevelled edge of bypass blades. Do not grind the flat face of the blade.
- Sharpen the blade after cleaning it, so you can see the edge clearly.
- Check the cutting edge after sharpening. A clean edge should meet the other blade without gaps when the tool closes.
Lubricating springs, bolts and pivots
Lubricate the spring, bolts and other moving parts with machine oil. Apply a few drops at the pivot point, then open and close the tool several times so the oil spreads through the joint. Wipe off any excess, because oil left on the outside collects dust and grit. For shovels, rakes, hoes and forks, wipe the metal with 3-in-1 oil (Niagara Now, 2022).
| Part | Action | Material |
|---|---|---|
| Blade bevel | Sharpen the bevelled edge only | Sharpening tool |
| Spring, bolts, pivot | Lubricate and work the joint open and closed | Machine oil |
| Rough wooden handle | Sand along the grain, then apply coats | Boiled linseed oil |
Sanding and oiling wooden handles
Sand rough wooden handles along the grain, not across it, to smooth the surface without scratching the wood. Then rub in linseed oil to stop the wood from drying out. According to Epic Gardening (2024), boiled linseed oil is applied in about three coats, with light sanding between coats. Let each coat dry fully before adding the next.
Where to store tools over a Canadian winter
Garden tools stored through a Canadian winter need a location that stays dry, because moisture is what drives rust on metal blades and heads. Three approaches cover most situations: dry indoor space with a wall-mounted rack, a sand pail mixed with vegetable oil for metal parts, and avoiding damp outdoor locations. The sources consulted do not specify temperature or humidity thresholds for winter storage, so the guidance below describes general practice from Epic Gardening (2024) and Niagara Now (2022).
| Option | Key condition | Source |
|---|---|---|
| Dry indoor space | Store tools indoors in a dry space, ideally on a wall-mounted rack | Epic Gardening (2024-11-12) |
| Sand pail with vegetable oil | Fill a pail with sand mixed with 1 to 2 cups of vegetable oil, then push the metal parts into it | Niagara Now (2022-11-10) |
Dry indoor space and wall-mounted racks
Epic Gardening (2024) recommends storing tools indoors in a dry space, ideally hung on a wall-mounted rack. Hanging each tool separately makes it easy to check the metal for rust before the next season. This option works best for hand tools such as shovels, rakes, hoes, forks, secateurs and loppers, which can be cleaned and dried before they go on the rack.
Sand pail mixed with vegetable oil
Niagara Now (Joanne Young, Ontario, 2022) describes a sand pail for winter rust protection. The method is:
- Fill a pail with sand.
- Mix in 1 to 2 cups of vegetable oil.
- Push the metal parts of the tools into the mixture.
Clean and dry the metal first, so that the oil coats bare metal rather than trapped dirt or moisture.
Choosing dry storage over damp outdoor locations
Both sources treat dryness as the condition that prevents rust. When indoor space is limited, choose the driest spot available rather than a damp outdoor location. The sources consulted do not specify how much moisture a storage area can tolerate, so judge conditions by whether the tools feel damp or show early rust after the winter.
What about mowers and power tools?
Powered equipment needs a different pre-storage routine from hand tools. According to Epic Gardening (2024), gas-powered equipment that still holds fuel should receive a fuel stabilizer, while battery-powered equipment should have its batteries removed and kept in a dark, dry place. Both sources point to the same end state: clean, dry equipment stored indoors.
Fuel: stabilize or drain
If fuel remains in a gas mower or other gas-powered tool, add a fuel stabilizer before storage. Epic Gardening (2024) gives this as the fuel step. The sources consulted do not describe draining the tank, so this guide does not specify a draining procedure or how long fuel can safely sit.
Blade cleaning and sharpening
Before handling a mower blade, disconnect the spark plug (or remove the battery on a battery-powered mower) as a basic safety step. The sources do not cover mower blades specifically, so the general cleaning sequence below is offered as general practice:
- Brush off soil, grass and debris.
- Wash with antibacterial soap and water.
- Disinfect with isopropyl alcohol or hydrogen peroxide.
- Dry thoroughly, to prevent rust.
The sharpening of mower blades is not covered by the sources consulted, so this guide does not give an angle, method or interval for it.
Battery charge level during winter storage
For battery-powered tools, remove the battery and store it in a dark, dry place, as Epic Gardening (2024) advises. The sources consulted do not specify a target charge level for winter storage. Check the equipment manufacturer’s manual for charging guidance before putting the battery away.
Summary by equipment type
| Equipment | Before storage | Storage location |
|---|---|---|
| Gas-powered mower or tool | Add fuel stabilizer if fuel remains | Indoors, dry space |
| Battery-powered tool | Remove the battery | Dark, dry place |
| Any powered blade | Brush, wash, disinfect, dry thoroughly | Indoors, dry space |
Frequently asked questions
Do I need to disinfect garden tools, or is washing enough?
Epic Gardening (2024) places a disinfecting step after washing with antibacterial soap and water, naming isopropyl alcohol or hydrogen peroxide as options. It states that this step can kill diseases such as powdery mildew, bacterial canker and blight.
How do I remove rust from shovels, rakes, hoes and forks before winter?
Niagara Now (2022) recommends soaking rusted metal in white or cleaning vinegar for 12 to 24 hours, scrubbing it, then wiping it with 3-in-1 oil. For winter protection, it suggests pushing the metal parts into a pail of sand and vegetable oil mixed with 1 to 2 cups of oil. Epic Gardening (2024) recommends a 24-hour soak in white vinegar for rusty tools, which is the upper end of that range.
Where should I store garden tools, and how do I prepare power equipment?
Epic Gardening (2024) advises storing tools indoors in a dry space, ideally on a wall-mounted rack. For power equipment, remove the batteries and keep them in a dark, dry place, and add a fuel stabilizer if fuel remains in gas-powered equipment. Niagara Now (2022) does not cover power equipment, so these steps come from Epic Gardening alone.