Why choose peonies for Canadian gardens?
Long lifespan and yearly return
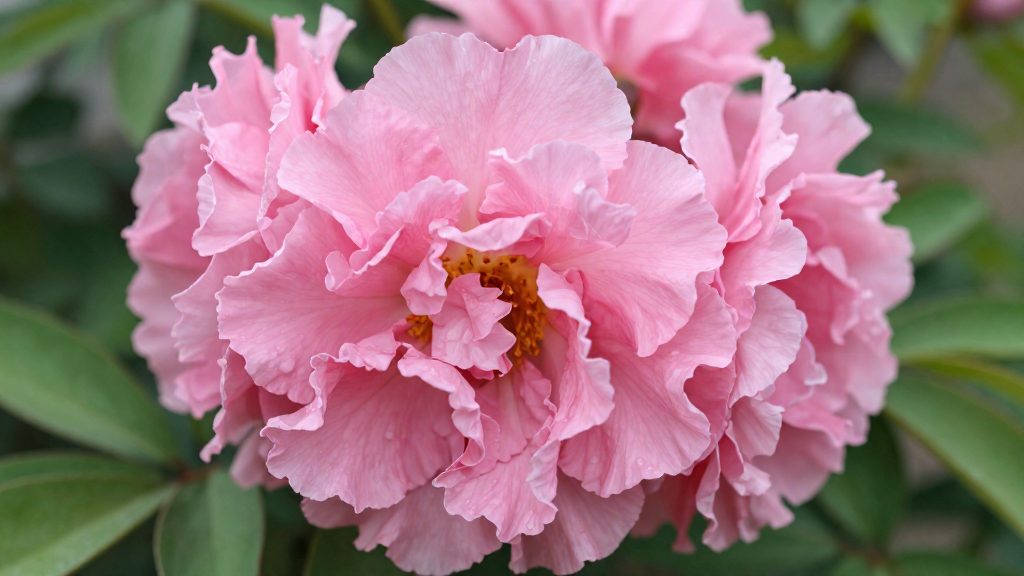
Peonies are a long-lived perennial. Once established, a clump returns every spring from the same root system, so it does not need replanting each season. BC Living (2019) reports that the roots can eventually span more than a metre, which explains why mature clumps are hard to move and why siting matters from the start.
The first growth of the year appears as reddish shoots. Those shoots mark the start of the annual care routine:
| Season | Task | Publisher |
|---|---|---|
| Spring, when reddish shoots emerge | Apply a low-nitrogen fertilizer and install supports or peony rings | Canadian Peony Society |
| After blooming | Fertilize again | Canadian Peony Society |
Cold tolerance and winter care
The Canadian Peony Society lists herbaceous peonies and tree peonies as hardy plants. Herbaceous peonies die back to the ground each autumn and survive winter as underground roots, then regrow in spring.
The official sources consulted do not specify how peonies compare with tender flowering perennials on cold tolerance. The practical winter step they do describe is applying 2–3 inches of mulch kept a few inches away from the crown (The Watering Can Flower Market, 2026).
Peonies also tolerate conditions that stress many garden plants. BC Living (2019) describes them as deer-resistant and drought-tolerant once established.
Cut flowers and garden value
Peonies serve as cut flowers as well as garden perennials. For larger blooms, the Canadian Peony Society advises removing the side buds while they are still small. The sources consulted do not specify fragrance levels, so this section does not describe scent.
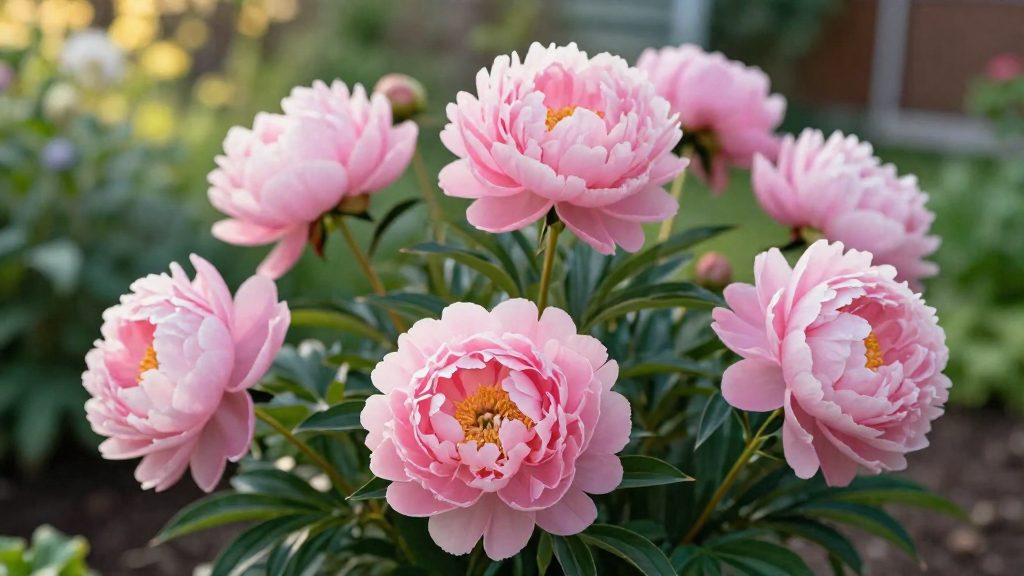
Which hardiness zones suit peonies?
Hardiness zone is the main factor in choosing a peony type for a Canadian garden, because the two main types differ in cold tolerance. According to the Canadian Peony Society, herbaceous peonies are hardy to zone 2, while tree peonies are hardy to zone 4 only. Herbaceous types therefore tolerate the coldest zones, and tree peonies need a site in zone 4 or warmer.
| Peony type | Hardiness rating | Practical implication |
|---|---|---|
| Herbaceous | Zone 2 | Survives winters in zone 2 and warmer |
| Tree | Zone 4 only | Not rated for zones 2 or 3 |
Choosing a cultivar type by local winter minimum
Match the type to your zone before buying plants:
- Zones 2 and 3: Choose herbaceous peonies. Tree peonies are not rated for these zones.
- Zone 4 and warmer: Both types fall within the rated range. Herbaceous peonies remain the default choice because they cover the widest range of conditions.
- Unknown zone: Look up your local hardiness zone before purchase. The rating, not the nursery label or the plant’s appearance, determines whether a type will survive winter.
Limits of the zone ratings
The official sources consulted do not specify the winter minimum temperatures associated with each zone, so use a current Canadian hardiness zone map for your address rather than estimating from neighbouring towns.
A zone rating describes survival, not performance. A zone rating describes survival, not performance. If a plant looks weak after winter, check planting depth, drainage and sun exposure before assuming the cause.
Where should you plant peonies?
Peonies need at least 6 hours of direct sun a day, in a spot with good air circulation and no pooling water. The Watering Can Flower Market (2026) recommends a south- or west-facing location with good air circulation, and advises avoiding low spots where water pools.
| Criterion | Target | How to check |
|---|---|---|
| Direct sun | At least 6 hours a day | Observe the spot at several times of day |
| Orientation | South- or west-facing | Note which way the bed faces |
| Air circulation | Good airflow | Avoid enclosed corners with still air |
| Ground level | Not a low spot where water pools | Look for standing water after rain |
Measuring sun exposure
Count only direct, unshaded light. A fence, a building or a large tree can block sun for part of the day, which may bring a bed below the 6-hour minimum. Check the spot in the morning, at midday and in the afternoon before deciding.
Orientation and airflow
South- and west-facing positions are the orientations named as ideal. The sources consulted do not specify how east- or north-facing sites compare. Good air circulation helps the plants stay open, so avoid spots boxed in by dense hedges or walls on several sides.
Avoiding low ground
Low spots are the main ground-level risk. Water collects there, so a bed dug into a hollow can stay wet longer than the surrounding garden. After a heavy rain, walk the planned area and note where water stands. Choose a slightly higher point in the same sunny exposure instead.
How deep should peony eyes be planted?
Peony eyes, the buds on the crown that produce the spring shoots, should sit no more than 1 to 2 inches below the soil surface, according to The Watering Can Flower Market (2026). Planting too deep is the main reason peonies fail to bloom, so depth is the setting to check first. The Canadian Peony Society advises covering the roots with only about 2 inches (5 cm) of soil.
Preparing the planting hole
- Dig the hole 8 to 9 inches (about 20 to 23 cm) deep, as recommended by the Canadian Peony Society.
- Mix compost or manure into the soil removed from the hole, then use this enriched soil for backfilling.
- Keep the hole deeper than the final planting depth so the root system has room to sit in amended soil.
Setting the crown at the right depth
- Place the root division in the hole with the eyes facing up.
- Check that the eyes end up 1 to 2 inches below the surface. Measure from the soil line to the top of the buds, not to the roots.
- Backfill with the enriched soil, firm it gently, and water to settle the soil without leaving the crown in standing water.
A crown set too deep produces leaves but few or no flowers, so it is better to err toward shallow placement within the 1 to 2 inch range than to bury the eyes.
| Element | Recommended value | Source |
|---|---|---|
| Eye depth below soil surface | No more than 1 to 2 inches | The Watering Can Flower Market (2026) |
| Soil cover over roots | About 2 inches (5 cm) | Canadian Peony Society |
| Planting hole depth | 8 to 9 inches | Canadian Peony Society |
| Soil amendment | Compost or manure | Canadian Peony Society |
When to plant and what to expect in year one
Peonies planted in Canadian gardens usually need a full season to settle before they flower well. The Watering Can Flower Market (2026) notes that first-year plants may not bloom, with better displays in year two or three. The first season is mainly about root establishment, so year-one results should be judged by plant health rather than flower count.
Choosing a planting window
The sources consulted give no exact fall or spring planting dates for Canadian regions, so ask a local nursery or garden society for the recommended window in your area. Choose a window when the soil can be worked and is not frozen or waterlogged, and check local frost patterns for your area.
First-year root establishment and bloom delay
| Stage | What the sources describe |
|---|---|
| Planting year | Plants may not flower (The Watering Can Flower Market, 2026) |
| Years two to three | Better displays are expected (The Watering Can Flower Market, 2026) |
| Once established | Plants are drought-tolerant (BC Living, 2019) |
A bloom delay in year one is common. If the plant still does not flower after year two or three, check planting depth first.
Watering newly planted roots
- Keep the soil moist during the first season so roots can grow, without letting it become soggy.
- Once established, the plants tolerate drought (BC Living, 2019), so the goal in year one is a steady supply rather than frequent heavy watering.
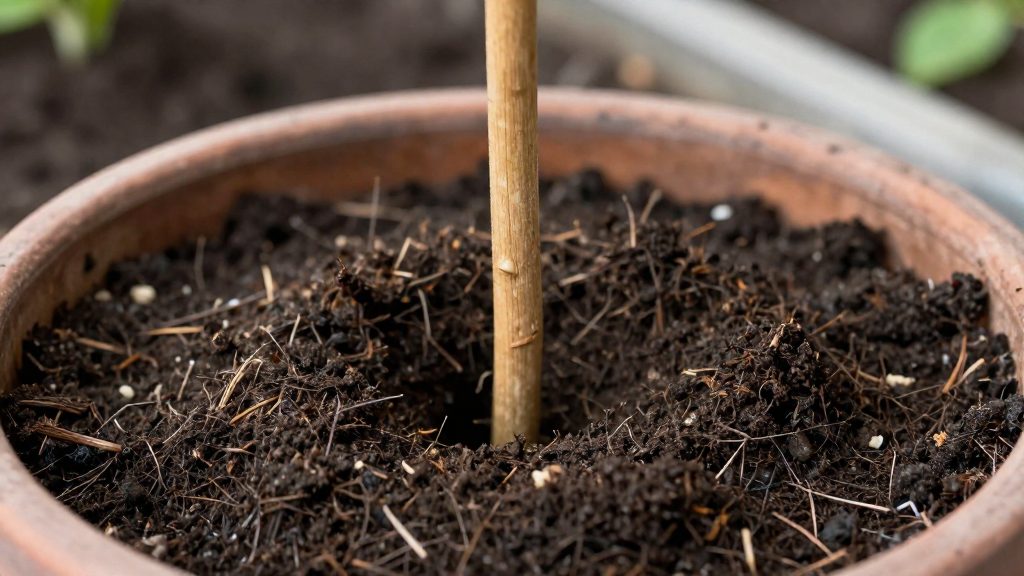
Supporting and feeding your peonies
Peonies need three kinds of attention during the growing season: stems held upright, a low-nitrogen feeding in spring, and a second feeding after flowering. According to the Canadian Peony Society, these steps follow the plant’s visible growth stages rather than a fixed calendar date, so you can time them to your own region’s spring.
| Stage | Action | Source |
|---|---|---|
| Reddish shoots emerge in spring | Apply a low-nitrogen fertilizer and install supports or peony rings | Canadian Peony Society |
| After blooming | Fertilize again | Canadian Peony Society |
| Side buds about pea-sized | Remove the side buds | Canadian Peony Society |
Installing supports as shoots emerge
Reddish shoots are the signal to act in spring. Place supports or peony rings over the plant at this stage, before the stems carry heavy buds and flowers. Rings set early let the stems grow up through the frame and stay upright. Adding them later means working around stems that have already leaned or flopped.
Applying low-nitrogen fertilizer
Use a low-nitrogen fertilizer when the reddish shoots appear. Choose a product labelled as low in nitrogen rather than a general-purpose formula. Nitrogen mainly promotes leafy growth, and the Canadian Peony Society specifies low nitrogen for this spring application. The official sources consulted do not give a dosage, so follow the rate printed on the product label.
Feeding again after blooming
Apply fertilizer a second time once the flowers have finished. The Canadian Peony Society recommends this follow-up feeding after blooming, and it is the second of the two scheduled applications each year.
Removing side buds for larger flowers
Each stem usually carries a central bud surrounded by smaller side buds. When the side buds are about the size of a pea, remove them. This directs the plant’s energy into the central bloom, which is how growers get larger flowers.
Preventing botrytis and crown rot
Peony crowns face two main threats during the growing season: fungal disease on the foliage, mainly botrytis, and crown rot caused by waterlogged soil. According to the Canadian Peony Society, botrytis is managed first by removing the affected leaves, with sulphur reserved for severe cases. Crown rot is addressed through drainage, because waterlogged soil can cause it. The official sources consulted do not specify treatment frequencies or sulphur application rates, so product labels should be followed for dosage.
Botrytis: remove affected leaves
Botrytis appears as diseased foliage on the plant. The first response is mechanical:
- Cut off the affected leaves at the point where they are diseased.
- Discard the removed leaves rather than leaving them on the bed.
Repeat this whenever new affected foliage appears during the season. Keeping the plant free of diseased leaves limits the spread to healthy tissue.
Severe botrytis: sulphur
Sulphur is reserved for severe botrytis cases and is not the first step for light infections. Leaf removal comes first, and sulphur is added only when the problem is serious.
Waterlogged soil and crown rot
Peonies need good drainage. Waterlogged soil can cause crown rot, which damages the root and crown tissue that supports flowering. Prevention is the main approach:
- Keep the soil drained so water does not sit around the crown.
- Avoid conditions that leave the soil saturated for extended periods.
Crown rot is a prevention problem more than a treatment problem, so drainage should be checked before the growing season begins and maintained through it.
| Threat | Recommended response | Detail not specified by sources |
|---|---|---|
| Botrytis on leaves | Cut off and discard affected leaves | Frequency of removal |
| Severe botrytis | Apply sulphur | Application rate and timing |
| Waterlogged soil | Maintain good drainage | Specific drainage method |
Fall cleanup and winter care
Fall cleanup for herbaceous peonies means cutting the stems back, removing the foliage, and mulching the bed once the plant has met a hard frost. The Canadian Peony Society advises cutting herbaceous foliage in the fall, around Halloween, and discarding it to avoid disease. The Watering Can Flower Market (2026) specifies cutting plants to ground level after the first hard frost, so the timing depends on your local climate as well as the calendar date.
Cutting back the stems
Cut the plant to ground level after the first hard frost. Work at the base of the plant so that no stems are left standing above the soil. The cutting step is a matter of tidying the bed for winter, not a protection measure in itself.
Discarding the foliage
Do not add the cut stems and leaves to the compost pile. The Watering Can Flower Market (2026) recommends disposing of the foliage rather than composting it, to reduce overwintering fungal spores. Rake up any fallen leaves from around the plant during the same cleanup so that spores are not left in the bed.
Applying winter mulch
Once the cleanup is complete, spread 2 to 3 inches of mulch over the bed. Keep the mulch a few inches away from the crown, the point where the roots meet the stems. The sources consulted give this spacing without a stated reason, so follow it as written.
| Step | Timing | Action |
|---|---|---|
| Cut stems | After the first hard frost (the Canadian Peony Society suggests around Halloween) | Cut to ground level |
| Remove foliage | Same cleanup visit | Discard; do not compost |
| Apply mulch | After cleanup | 2 to 3 inches, a few inches from the crown |
Frequently asked questions
How deep should I plant peony roots in a Canadian garden?
Set the planting depth so the buds sit no more than 1 to 2 inches (2.5 to 5 cm) below the soil surface, and dig the hole 8 to 9 inches (20 to 23 cm) deep, enriched with compost or manure, according to the Canadian Peony Society. The Watering Can Flower Market (2026) identifies planting too deep as the main reason peonies fail to bloom.
Which hardiness zone do peonies need to survive winter?
Herbaceous peonies are hardy to zone 2, and tree peonies are hardy to zone 4, according to the Canadian Peony Society (2012). Herbaceous types die back to the ground each autumn and regrow from their underground roots in spring.
Why didn’t my newly planted peony flower this year?
Plants in their first year may not bloom, and the establishment period usually produces better displays in year two or three, according to The Watering Can Flower Market (2026). Full sun for at least 6 hours a day and well-drained soil support that development.