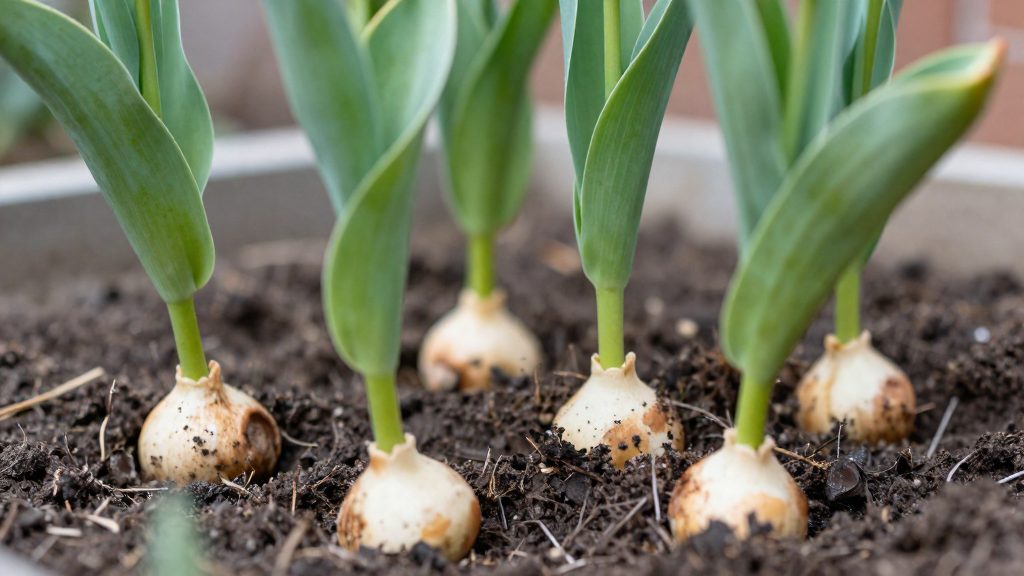
When to plant tulip bulbs in Canada: timing, depth, site, and selection
Plant tulip bulbs in fall once the soil has cooled below 10–15°C and before the ground freezes. According to the National Capital Commission (Government of Canada), this usually falls between late September and late October in the Ottawa region. Soil temperature is a practical guide, because the calendar window can shift from year to year and from one region to another.
When to plant tulip bulbs in Canada
The planting window depends on two conditions: soil temperature below 10–15°C and the ground not yet being frozen. The National Capital Commission (Government of Canada) advises planting before the ground freezes, so both conditions must be met at the same time.
Soil temperature threshold
Check the soil before planting. Bulbs should go into soil that has already cooled to below 10–15°C. Planting into soil that is still warm falls outside the timing the National Capital Commission (Government of Canada) describes.
Calendar window in the Ottawa region
| Indicator | Guideline | Source |
|---|---|---|
| Soil temperature | Below 10–15°C before planting | National Capital Commission (Government of Canada) |
| Planting window | Late September to late October | National Capital Commission (Government of Canada), Ottawa region |
| Ground condition | Plant before the ground freezes | National Capital Commission (Government of Canada) |
The dates in this table apply to the Ottawa region. For other parts of Canada, the official sources consulted do not specify alternative dates, so use the soil temperature and ground condition as the working guide instead of the Ottawa calendar.
Practical timing steps
- Prepare the bed early. Loosen the soil to 15–20 cm ahead of time, so planting can begin as soon as the soil reaches the right temperature.
- Watch the soil, not only the date. Check the planting area over several days in early and mid fall before committing to a planting day.
How deep should tulip bulbs be planted?
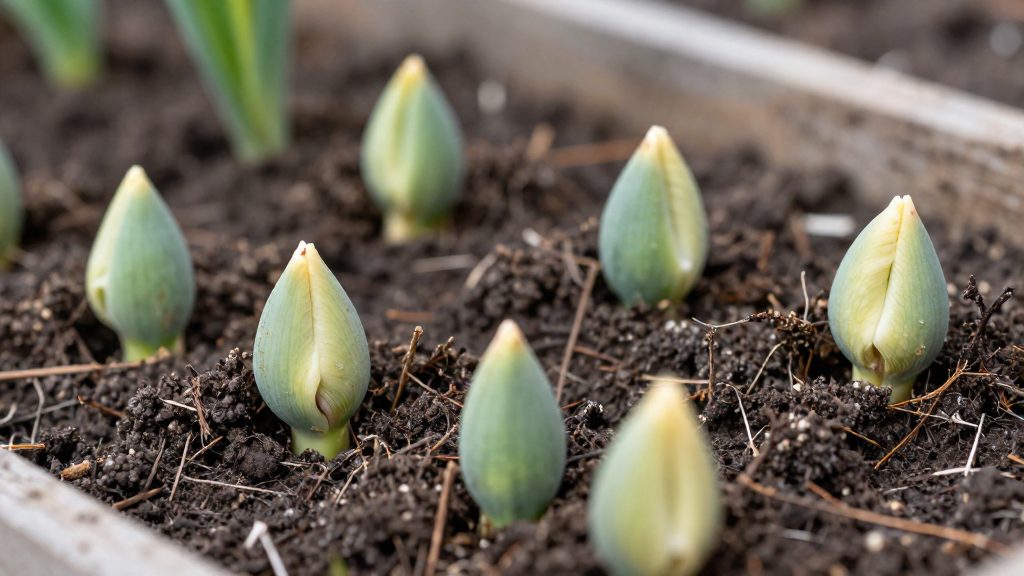
According to the National Capital Commission (Government of Canada), tulip bulbs should be planted at a depth of three times the bulb’s height. Depth is measured from the base of the bulb, the flat end where roots form, up to the soil surface. The pointed end must face upward, because the shoot emerges from that tip. A bulb planted upside down or on its side has to redirect its shoot through the soil, which delays emergence and can weaken the plant.
Calculating the planting depth
Apply this method to each bulb before digging:
- Measure the bulb’s height from its base to its pointed tip.
- Multiply that height by three (height × 3).
- Dig the hole to that total depth, measured from the base of the bulb to the soil surface.
For example, a bulb 5 cm tall needs a hole about 15 cm deep (5 × 3). Bulbs of different sizes in the same bed need different depths, so measure each bulb rather than using one depth for the whole batch.
| Step | Action | Check |
|---|---|---|
| 1 | Measure bulb height, base to tip | Height in cm |
| 2 | Multiply height by 3 | Target depth in cm |
| 3 | Set the bulb pointed end up | Flat base rests on the hole floor |
| 4 | Cover with soil and firm gently | No air pockets around the bulb |
Checking orientation
Before covering, confirm that the pointed tip is upward and the flat base sits on the bottom of the hole. If a bulb’s orientation is unclear, look for the tip, which is narrower than the base. Placing the bulb correctly from the start avoids the bent shoots that result from reversed planting.
Choosing the right spot and soil
Tulip bulbs need a site with full sun or bright light in spring, when the leaves grow and the flowers develop, and soil that drains well so water does not stand around the bulbs. The National Capital Commission (Government of Canada) lists full sun or bright light in spring and good drainage as requirements when choosing a planting site, and also advises loosening the soil when planting. The steps are to choose a sunny location, confirm that water moves away from it, and loosen the soil before planting.
Light exposure
- Choose a location that receives full sun or bright light during spring.
- Avoid areas shaded by trees, fences, or buildings during the spring months, since shade reduces the light available when the bulbs are growing.
- Conditions vary by region across Canada, so observe how many hours of direct light a potential bed receives in spring before deciding where to plant.
Soil preparation
- Loosen the soil to a depth of 15–20 cm before planting. This gives the roots room to spread and makes the bed easier to work.
- Remove weeds, stones, and large clumps as you dig, so the bulbs sit in an even layer of loose soil.
- Work the soil when it is moist but not waterlogged. Soil that is compacted or packed hard will resist loosening and slow root development.
Drainage
Good drainage is essential for tulip bulbs. A bed that holds water after rain or snowmelt is a poor choice, even if it receives full sun. Before planting, observe how the site behaves after a rain: if water pools on the surface and stays for a long time, the spot is not suitable without improvement.
| Factor | Requirement |
|---|---|
| Light | Full sun or bright light in spring |
| Soil loosening depth | 15–20 cm |
| Drainage | Good drainage is essential |
How to choose healthy tulip bulbs
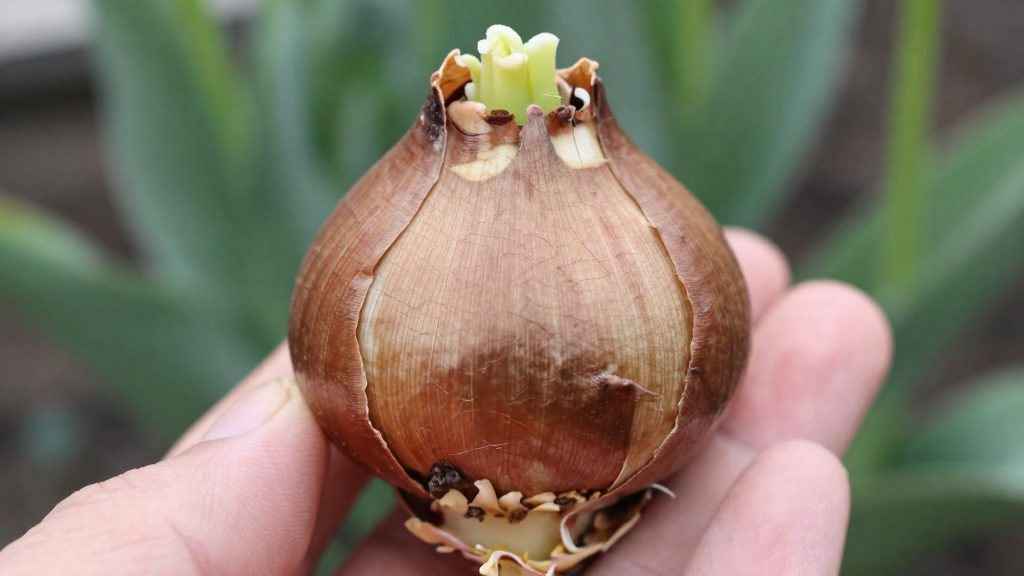
Healthy tulip bulbs are firm and large, with no soft spots and no bruises. Checking each bulb before purchase, then storing it properly until planting, gives the strongest stock for a fall planting in Canadian conditions.
Select large, firm bulbs without soft spots
Pick up each bulb and press it gently. A sound bulb feels solid throughout. Set aside any bulb with a soft spot, even if the rest of it looks good. Choose large bulbs over small ones, since the National Capital Commission specifically recommends large bulbs for planting.
Reject bruised or damaged bulbs before buying
Inspect the outer skin of every bulb before it goes into your basket. Reject any bulb with bruises or other damage. Examine the base and the tip as well as the upper surface, so you see the whole bulb.
| Checkpoint | Keep | Reject |
|---|---|---|
| Firmness | Solid when gently pressed | Soft spots |
| Skin | Intact, no bruises | Bruised or damaged |
| Size | Large | Small |
Keep bulbs cool and dry until planting
Store bulbs in a cool, dry place until you are ready to plant. Moisture and warmth should be avoided during storage, so bulbs stay in the same condition they were in at purchase. Plant them in the fall window recommended for your region, rather than holding them for long periods.
How do you plant tulip bulbs step by step?
Planting tulip bulbs follows a short sequence: prepare the hole, add bone meal if you use it, set each bulb pointed end up, cover it with soil, and water the bed. According to the National Capital Commission (Government of Canada), good drainage is essential. The steps below follow that guidance.
Step 1: Prepare the hole
Dig a hole in the chosen bed. Check that water does not pool in the spot after rain, because the National Capital Commission (Government of Canada) identifies good drainage as essential for tulip bulbs.
Step 2: Add bone meal to the bottom
Mix bone meal into the bottom of the hole, following the directions on the package. The National Capital Commission (Government of Canada) states that bone meal may be mixed in this way. Use the quantity printed on the package rather than estimating one.
Step 3: Place the bulbs
Set each bulb in the hole with the pointed end up. Space bulbs at least 5 cm apart. The National Capital Commission (Government of Canada) recommends planting in groups of 7 to 15 bulbs and mixing early, mid-season and late varieties in the same planting.
Step 4: Backfill the hole
Return the soil over the bulbs and fill the hole back to the level of the bed. The official sources consulted do not specify a firming method. Press the soil down gently so that no air pockets are left around the bulbs.
Step 5: Water the bed
Water the bed after planting. The official sources consulted do not specify a watering volume, so water enough to moisten the soil around the bulbs without leaving it waterlogged. This keeps the soil moist while preserving the drainage the bulbs need.
| Step | Action | Key detail |
|---|---|---|
| 1 | Prepare the hole | Good drainage |
| 2 | Add bone meal | Mix into the hole bottom per package directions |
| 3 | Place bulbs | Pointed end up; at least 5 cm apart; groups of 7 to 15 |
| 4 | Backfill | Cover bulbs with soil, level with the bed |
| 5 | Water | Water after planting, without waterlogging |
How far apart should tulips be planted?
According to the National Capital Commission (Government of Canada), tulip bulbs should be spaced at least 5 cm apart, and planted in groups of 7 to 15 bulbs. Minimum spacing gives each bulb room to develop, and grouping produces a dense block of colour rather than scattered single flowers. Both measures are set in the planting bed before any bulb goes into the soil, so it helps to plan the layout first.
| Planting parameter | Recommendation |
|---|---|
| Distance between bulbs | At least 5 cm |
| Bulbs per group | 7 to 15 |
| Variety mix | Early, mid-season and late varieties |
Minimum spacing of 5 cm is a floor, not a target. Measure from the centre of one bulb to the centre of the next, and keep that distance along the edges of the bed as well as within the group.
Groups of 7 to 15 bulbs create the display. Sketch the bed on paper, mark a circle or cluster for each group, and count the bulbs in each circle before buying or planting. Keep every group within the 7 to 15 range.
Mixing early, mid-season and late varieties is the third part of the pattern. Place different bloom periods within the bed so that flowering does not peak all at once. The official sources consulted do not specify how many bulbs of each bloom period should go into a single group, so the proportion is a matter of design choice.
Do tulips need a cold winter in Canada?
Tulips planted in fall depend on a chilling period in cold soil before they can flower in spring. In Canada, planting early enough for the bulb to establish roots lets it settle into the cold soil over winter. The official sources consulted do not specify a required number of chilling hours or a minimum length of winter cold, so the soil temperature and freeze date are the practical reference points.
The chilling period before spring flowering
Chilling is the cold exposure a bulb receives after planting.
Freeze-thaw cycles in winter ground
The official sources consulted do not specify how freeze-thaw cycles affect tulip bulbs in the ground, or how many occur during a Canadian winter. Regional winter patterns vary across Canada, so gardeners should adapt their planting date to local conditions rather than apply a single calendar date everywhere.
Mulch as winter protection for beds
The official sources consulted do not specify whether mulch is recommended for tulip beds, nor the material, thickness, or timing of application. Gardeners who want to mulch should check guidance from their local municipality or regional extension service for advice suited to their climate.
Frequently asked questions
How deep should I plant tulip bulbs in a Canadian fall?
Plant each bulb at about three times its own height, measured from the base of the bulb to the soil surface. Measuring from the tip instead places the base deeper than intended, so measure from the base. Taller bulbs need a planting hole that fits inside the loosened layer, so the bed must be loosened at least as deep as the hole.
Which planting spot suits tulips in Canada?
According to the National Capital Commission (Government of Canada), tulips need full sun or bright light in spring, along with good drainage. Avoid low spots where water collects after rain, since the NCC lists drainage as essential.
What if the ground is already frozen or I live outside Ottawa?
The official sources consulted do not specify planting dates outside the Ottawa region, so use soil temperature as the working guide and plant when it has cooled below 10–15°C. If the ground has already frozen, the sources do not describe planting into frozen soil, so keep the bulbs cool and dry until the soil is workable.