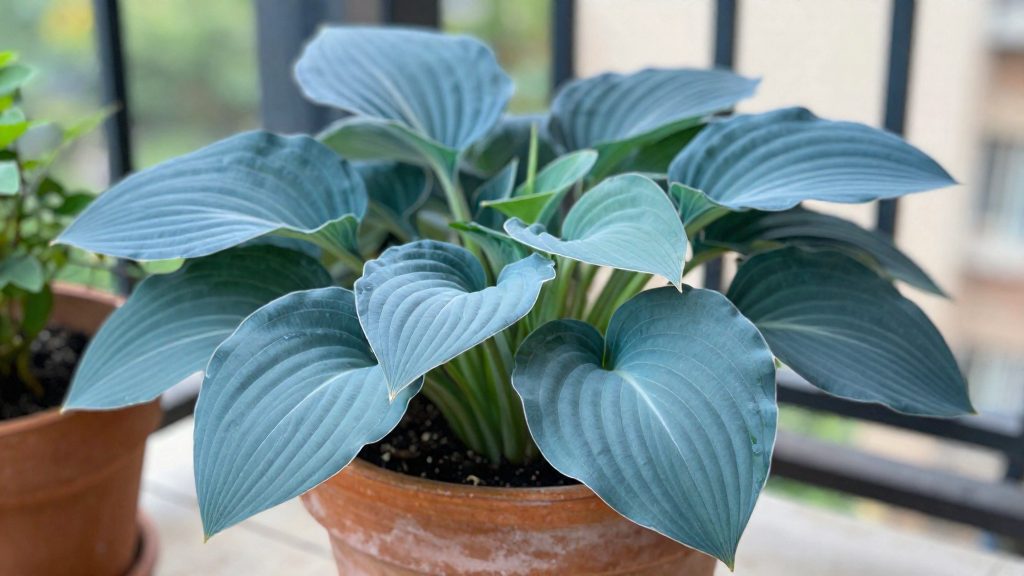
Hostas can grow in balcony pots, and the variety you choose determines how much container space the plant needs. According to Proven Winners (2026), miniature types such as ‘Blue Mouse Ears’ suit small containers, while medium and large varieties need much larger pots. Container hostas also differ from ground-planted ones: their soil dries faster, and the plant eventually outgrows its pot. Matching the variety to the container and maintaining consistent moisture and drainage are the main factors for success.
Can hostas really grow in pots on a balcony?
Growth habit in containers
Les hostas poussent à partir d’une base centrale qui s’élargit avec la maturité de la plante.
Miniature versus medium and large varieties
Variety size is the main factor in whether a balcony container suits a hosta.
| Group | Container fit on a balcony |
|---|---|
| Miniature varieties (e.g., ‘Blue Mouse Ears’) | Suit small planters and limited balcony space (Proven Winners, 2026) |
| Medium to large varieties | Need considerably wider and deeper pots, so they suit larger planters (Proven Winners, 2026) |
Because a balcony offers limited soil volume, choosing a miniature variety is the simplest way to keep a hosta healthy in a small pot.
Balcony conditions that suit container hostas
Leave about 3 inches between the plant’s base and the pot’s side (Gardener’s Path, 2024-04-07).
Pots dry out faster than ground beds. To slow drying:
- Water at soil level rather than on the foliage.
- Use mulch to help retain moisture.
- Consider drip irrigation or self-watering containers (Gardener’s Path, 2024-04-07).
Containers do not stop slugs and snails, which can climb pots. Containers do protect hostas from voles (Gardener’s Path, 2024-04-07).
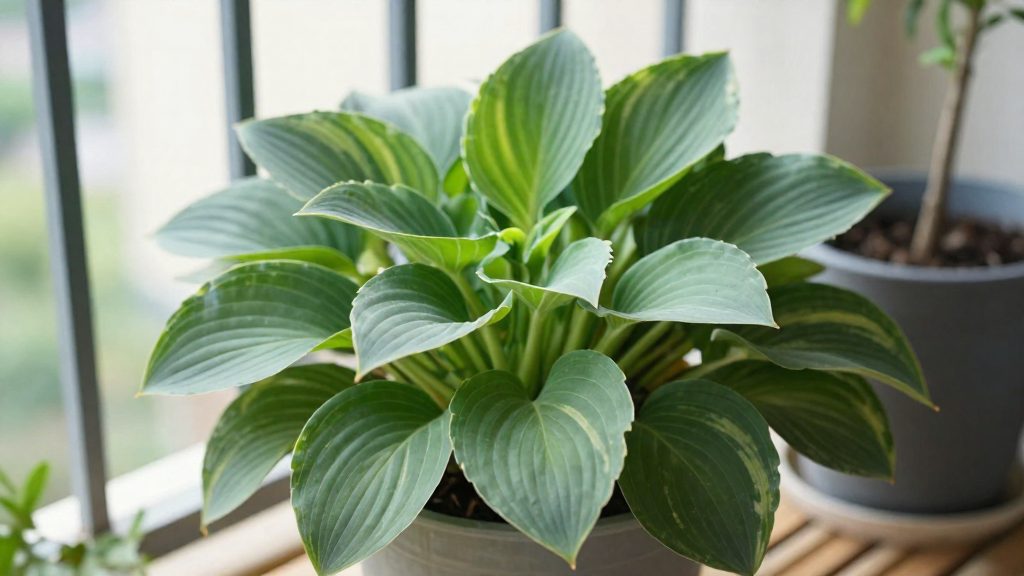
Choose the right hosta and pot
Pot size depends on the mature size of the hosta. Miniature cultivars such as ‘Blue Mouse Ears’ grow in pots 4 to 6 inches (about 10 to 15 cm) wide and deep, while medium to large varieties need a pot about 12 to 18 inches (about 30 to 45 cm) wide and deep, or larger (Proven Winners, 2026).
Pot size by hosta size
| Hosta size | Pot width and depth |
|---|---|
| Miniature (e.g. ‘Blue Mouse Ears’) | 4 to 6 inches |
| Medium to large | About 12 to 18 inches, or larger |
Measure the pot’s width and depth before planting, and match the pot to the variety’s category on the plant label.
Shape: width at least equal to depth
Choose a pot whose width is at least equal to its depth (Gardener’s Path, 2024-04-07). A wide, shallow pot suits a hosta’s spreading root system better than a tall, narrow container.
Leave about 3 inches of clearance
Plant so that there is about 3 inches (about 7.5 cm) between the plant’s base and the pot’s side (Gardener’s Path, 2024-04-07), which suggests choosing a pot with enough room around the plant.
Material: keep roots cool
Hostas prefer cool roots. Dark and metal containers heat up quickly in direct sun, which works against the cool root zone hostas need. For that reason, light-colored containers are the better choice on a sunny balcony.
Best potting mix and drainage
A hosta grown in a pot depends entirely on the medium around its roots, since the container limits how much soil is available and how quickly water moves through it. According to Proven Winners (2026), the right choice is an all-purpose potting mix, not garden soil.
Why potting mix instead of garden soil
Proven Winners (2026) recommande un terreau tout usage plutôt que de la terre de jardin pour les hostas en pot. Proven Winners (2026) specifically recommends an all-purpose potting mix for hostas in pots. Potting mixes are formulated for containers, so they are better suited to the closed root space a pot provides.
A rich mix that still drains well
Proven Winners (2026) describes the ideal mix as rich and well draining. These two qualities work together: a rich mix supplies the organic material that holds nutrients and some moisture, and good drainage keeps that moisture from becoming waterlogged. When choosing a product, look for a label that says all-purpose potting mix, and avoid heavy blends that stay wet at the bottom of the pot.
Drainage holes in the pot base
Gardener’s Path (2024-04-07) advises choosing a pot with drainage holes. These openings are the only exit for excess water after watering. Before planting, confirm that the holes are open and not blocked by compacted mix or debris. The official sources consulted do not specify a hole size or count.
| Requirement | Recommendation | Source |
|---|---|---|
| Pot base | Drainage holes present | Gardener’s Path (2024-04-07) |
How much light do balcony hostas need?
According to Proven Winners (2026), hostas grown on a balcony do best with morning sun and shelter from the hot afternoon sun. This exposure gives enough direct light for good leaf color and flowering, while protecting the foliage during the hottest part of the day. Hostas can tolerate full shade, but they color up and flower better when they receive some direct sun. Too much sun can bleach or brown the leaves, so the position of the pot matters as much as the amount of light.
Morning sun with afternoon shelter
On a balcony, the simplest approach is to place the pot where it receives direct light in the morning and is shaded once the afternoon sun becomes strong. Choose a spot that:
- Receives direct light early in the day
- Is shaded during the hot afternoon, for example by a wall, a railing, an awning, or a neighbouring structure
- Still lets the plant receive daylight throughout the day
Before setting the pot in place, observe how the balcony changes over the day. A position that looks suitable at midday may be exposed to strong afternoon sun.
Full shade versus better color and flowering
Hostas are shade-tolerant, so a deeply shaded balcony can still support them. The trade-off is in the appearance of the plant. The table below summarises the difference between light conditions, based on the Proven Winners (2026) guidance.
| Light condition | Expected result |
|---|---|
| Full shade | Tolerated, but color and flowering are reduced |
| Some direct sun | Better leaf color and flowering |
| Morning sun with afternoon shelter | Works best |
| Excess sun, especially hot afternoon sun | Leaves may bleach or brown |
Leaf bleaching and browning from excess sun
Leaves that look pale, washed out, or brown at the edges or in patches may be receiving too much sun. In that case, move the pot to a spot with morning light and afternoon shade, or add a shade structure over it.
How often should you water and feed potted hostas?
Potted hostas are watered by checking the soil rather than following a fixed calendar. Push a finger 1 to 2 inches into the potting mix, and water only if it feels dry at that depth. Keep the soil evenly moist, not soggy. Feeding is minimal: according to Proven Winners (2026), a good potting mix needs little fertilizer, and a single application in early spring is the standard approach.
Watering by feel
Pots dry out faster than ground beds, so the check needs to happen more often than it would in a garden border. According to Gardener’s Path (2024), water at soil level rather than over the foliage. Drip irrigation, self-watering containers and a layer of mulch help the mix hold moisture between waterings.
| Task | When | How |
|---|---|---|
| Finger test | Before each watering | Push a finger 1 to 2 inches into the soil |
| Watering | Only when the soil is dry at that depth | Pour water at soil level, away from the leaves |
| Fertilizing | Early spring | Mix in a granular, time-release all-purpose fertilizer and follow the package directions |
Avoiding overwatering
Adding water on a fixed schedule, regardless of conditions, is the most common cause of trouble. Proven Winners (2026) notes that overwatering can cause root rot. Container soil that stays wet for long periods is the situation to avoid. If the top inch or two is still damp, wait before watering again.
Feeding in early spring
Feeding is a single task. In early spring, when new growth begins, mix a granular, time-release all-purpose fertilizer into the top of the potting mix. Proven Winners (2026) advises following the package directions for the amount. Additional feeding through the season is not part of the standard recommendation for a good potting mix, so the early-spring application is the main feed of the year.
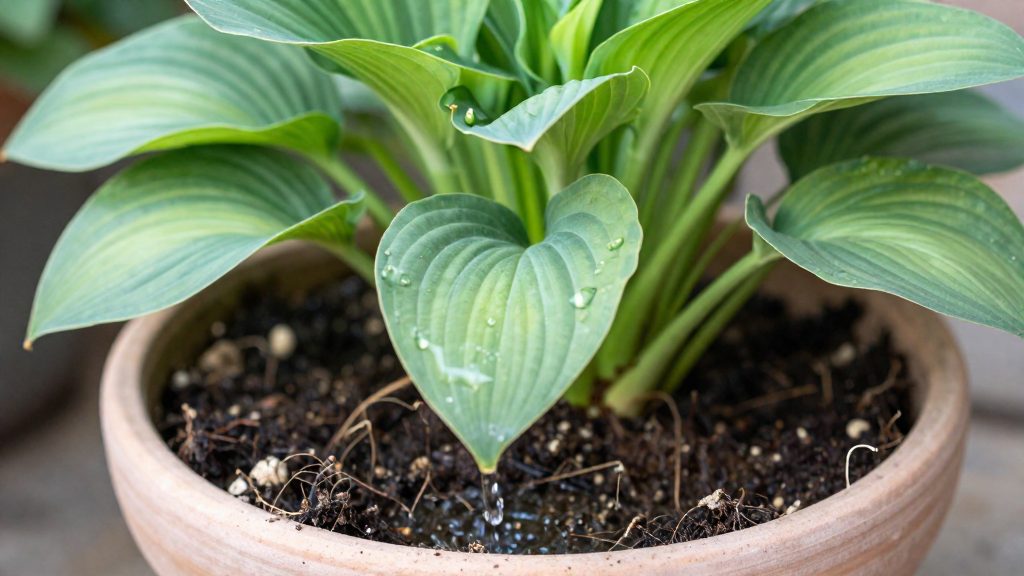
Protect pots from slugs and snails
Containers do not stop slugs and snails. According to Gardener’s Path (2024-04-07), these pests can climb pots, so a hosta on a balcony is not automatically safe. Regular inspection of the foliage, combined with a few simple barriers and manual control, is the practical approach for container-grown hostas.
Recognizing feeding damage
- Irregular holes chewed into the leaves, often with ragged edges.
- Silvery slime trails across the leaf surface, the pot rim or the soil.
- Damage that appears first on young, emerging leaves in spring.
Check the undersides of leaves and the soil around the base of the plant, since these pests usually hide in shade during the day.
Physical barriers
- Copper tape wrapped around the outside of the pot rim, so the pest has to cross it to reach the foliage. Keep the tape free of soil and debris so it stays in contact with the pot.
- Grit or coarse sand spread in a band across the soil surface. Slugs and snails tend to avoid dry, abrasive material.
- Keep leaves and pot edges away from walls, railings and neighboring plants, which give pests an easy route up to the container.
Hand-picking and trapping at dusk
**Les limaces et les escargots sont le plus actifs après la tombée de la nuit et par temps humide. Inspect the plants in the evening with a torch, collect pests by hand, and remove them from the balcony. A shallow dish of beer or a damp board placed near the pot can also attract them, so they can be collected and discarded in the morning.
Overwintering hostas in Canadian winters
Les hostas en pot peuvent passer l’hiver si le contenant résiste au gel et si les racines connaissent une vraie période de dormance. Dans les régions froides, il faut déplacer les pots dans un local non chauffé. Proven Winners (2026) advises moving pots in cold regions to an unheated garage, shed, or greenhouse before hard freezes arrive. Les sources consultées ne donnent pas les zones de rusticité canadiennes ni les dates de premier gel. Pour votre région, consultez la carte canadienne des zones de rusticité des plantes et les dates de gel locales avant de décider du moment du déplacement des pots.
Pot material
Terra cotta and ceramic pots can crack during freeze/thaw cycles, according to Proven Winners (2026). Fiberglass or resin pots are the better choice for outdoor winters.
Winter routine
- Water before the first hard freeze. Water the pots thoroughly before the ground freezes hard (Proven Winners, 2026).
- Move the pots to shelter. In cold regions, place them in an unheated garage, shed or greenhouse (Proven Winners, 2026).
- Keep them cold enough for dormancy. Les hostas ont besoin de températures inférieures à 4 °C (40 °F) pendant au moins un mois pour entrer en dormance (Gardener’s Path, 2024-04-07).
- Water only when the soil is completely dry. Check the soil in the sheltered location and water only when it has fully dried (Gardener’s Path, 2024-04-07).
| Winter step | Requirement | Source |
|---|---|---|
| Pot material | Fiberglass or resin, not terra cotta or ceramic | Proven Winners (2026) |
| Before first hard freeze | Water the pots | Proven Winners (2026) |
| Shelter | Unheated garage, shed or greenhouse | Proven Winners (2026) |
| Dormancy temperature | Below 40°F (about 4°C) for at least one month | Gardener’s Path (2024-04-07) |
| Watering in shelter | Only when soil is completely dry | Gardener’s Path (2024-04-07) |
When to repot or divide
A potted hosta needs repotting or division when its roots fill the container and the plant has no room left to grow.
Signs of root-bound growth
Check the pot every spring and whenever growth looks stalled. Gardener’s Path (2024) identifies these signs:
| Sign | What it indicates |
|---|---|
| Roots emerge from the drainage hole | Roots have filled the container and are seeking more space |
| Roots circle the soil surface | The root mass has no room to spread sideways |
| The plant’s base reaches the pot’s side | The crown has no room to expand |
Repotting into a larger container
Repot into a container one size larger, following these steps:
- Choose a larger pot.
- Loosen the root ball gently before placing it in the new pot.
- Set the plant at the same soil level it had in the old container.
- Water thoroughly, then keep the soil evenly moist.
Dividing clumps
When the plant is crowded enough that it cannot be repotted into a single larger pot, divide it into two pots, as Gardener’s Path (2024) recommends. Remove the plant from its container, separate the clump into two sections that each carry roots and growth, and plant each section in its own container. The sources consulted do not specify the best season for division, so base the timing on your local climate and the plant’s growth stage.
Frequently asked questions
Which hosta varieties work in a small balcony pot?
Miniature varieties such as ‘Blue Mouse Ears’ are the best fit for small containers, and Proven Winners (2026) gives a pot width and depth of 4 to 6 inches (about 10 to 15 cm) for them. Medium and large varieties need a pot about 12 to 18 inches (about 30 to 45 cm) wide and deep, or larger.
How often should I water a hosta in a balcony pot?
Check the soil before each watering by pushing a finger 1 to 2 inches deep, and water only if it feels dry. Gardener’s Path (2024-04-07) recommends watering at soil level rather than on the foliage, since pots dry out faster than ground beds. Overwatering can lead to root rot, so good drainage holes are essential.
Can potted hostas survive winter on a balcony?
They can, provided the pot is protected from hard freezes. Proven Winners (2026) advises watering before the first hard freeze and choosing fiberglass or resin pots, because terra cotta and ceramic can crack during freeze-thaw cycles. In cold regions, move the pot to an unheated garage, shed or greenhouse, since the plant needs a dormancy period below 40°F (about 4°C) for at least a month, according to Gardener’s Path (2024-04-07).