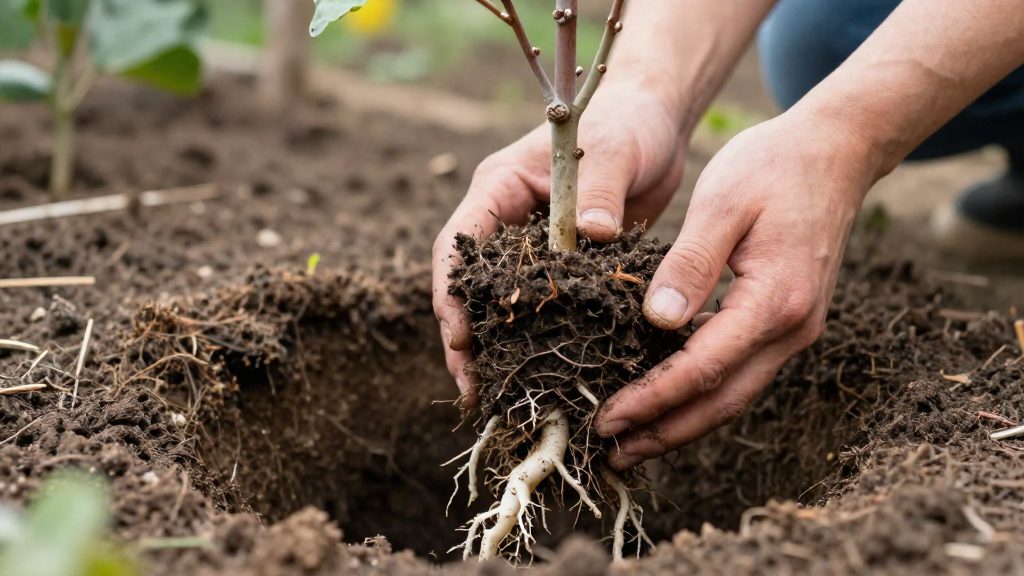
Bare root trees should be planted as soon as possible after they arrive, before spring growth begins. The Arbor Day Foundation (2026) also recommends planting while the tree is dormant, either in fall after the leaves drop or in early spring before new growth appears. If planting must be delayed, Iowa State University Extension and Outreach (2026) advises storing the tree at about 40°F in a cool, non-freezing spot, with damp (not wet) packing material around the roots.
When is the best time to plant a bare root tree?
Planting window
The planting window is the dormant season, the period when the tree has no leaves and new growth has not started. The Arbor Day Foundation (2026) identifies two parts of this window:
- Fall: after the leaves drop.
- Early spring: before new growth appears.
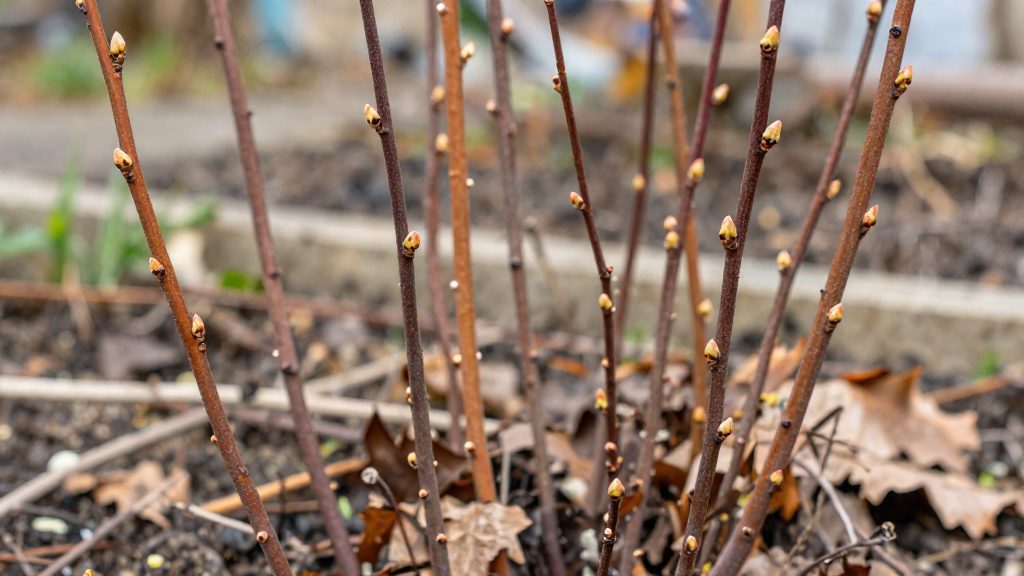
Both periods are defined by the tree’s condition rather than by a calendar date. The official sources consulted do not specify exact dates for either window, so check the tree’s stage on site: bare, leafless branches indicate dormancy, and swelling buds or emerging shoots mean growth has begun.
Default rule: plant on arrival
Planting promptly keeps the tree within the window before spring growth begins, so the default is to plant on the day the tree arrives or as soon as the site is ready.
When planting must be delayed
If planting cannot happen right away, the tree needs cold storage until it can go into the ground. Iowa State University Extension and Outreach (2026) gives these conditions:
- Store the tree at about 40°F.
- Choose a cool spot that does not freeze.
- Keep the packing material damp, not wet, around the roots.
| Situation | Recommended action | Source |
|---|---|---|
| Planting delayed | Store at about 40°F in a cool, non-freezing spot, in damp (not wet) packing material | Iowa State University Extension and Outreach (2026) |
What do you need before you start?
Before a bare root tree comes out of its packaging, the planting site and the tools need checking. Confirm that the spot gets enough sun for the species, that water does not sit in the planned hole, and that the tree has room away from buildings and underground services. The official sources consulted do not give a light requirement for a specific species, so check the plant label or a species guide for that figure. Gather the tools in advance so the roots are not left exposed while you search for them.
Site assessment
- Sunlight: Choose a spot that receives the amount of direct light the species needs. Note which parts of the site are shaded in the morning and afternoon, since the position of the sun changes through the season.
- Drainage: Avoid low spots where rainwater collects and areas with compacted or waterlogged soil. Roots need air as well as moisture.
- Clearance: Keep the tree well away from house foundations, walls, driveways, and overhead or buried utility lines. Before digging, confirm where underground lines run, using your local utility location service.
Soil drainage test
Test the soil before digging the planting hole. Dig a test hole at the planned location, fill it with water, and let it drain completely. Then refill it and time how long the water takes to drain. If the water remains standing for a long time, the site is poorly drained and a different location should be considered. This test is qualitative: the official sources consulted do not give a threshold drainage time.
Tools
| Tool | Use in planting |
|---|---|
| Spade | Digging the planting hole to the width and depth needed |
| Tape measure | Checking the root spread, hole width, and the depth at which the trunk flare sits at soil level |
| Bucket | Carrying water to the planting site |
| Pruning shears | Removing damaged or broken roots before planting (method covered in the root preparation section) |
Keep the tools clean and sharp. Keep the tools clean and sharp, and check the hole for buried roots and debris as you dig.
How do you prepare bare root tree roots?
Preparation happens between delivery and planting and has three parts: pruning damaged roots, rehydrating the root system, and inspecting it for problems. According to Iowa State University Extension and Outreach (2026), damaged or broken roots should be pruned, and the roots then soaked in water for 1 to 2 hours before planting. Work on the roots while they are still moist, and keep them out of direct sun and wind throughout.
Step 1: Cut back damaged or broken roots
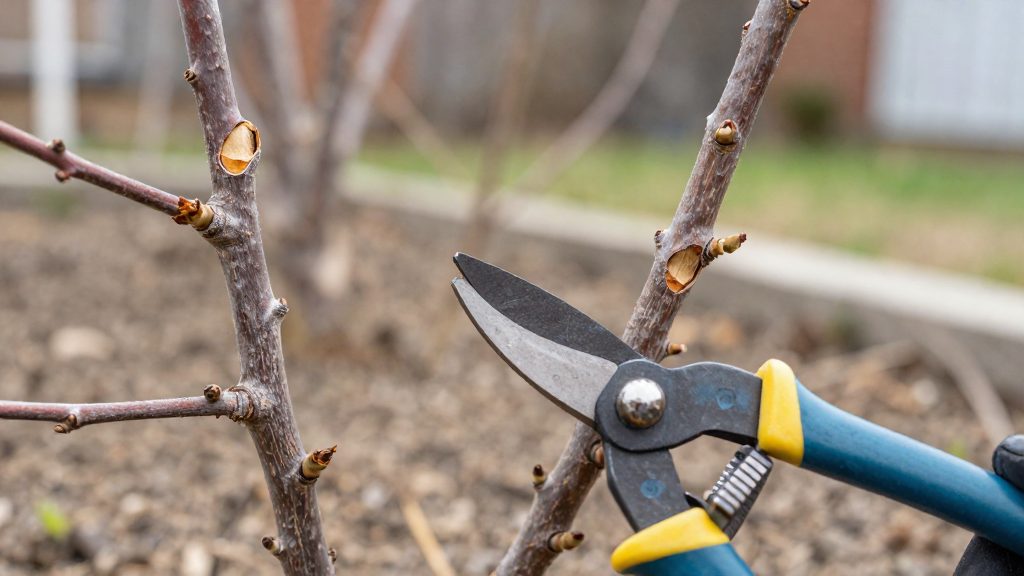
Look over the entire root system and identify roots that are torn, crushed, or snapped. Cut each one back to sound tissue, meaning wood that is firm and light-colored at the cut face. Use clean, sharp pruners, since a clean cut heals more readily than a ragged tear. Remove only the damaged material and leave healthy roots intact.
Step 2: Rehydrate the roots in water
Submerge the pruned roots in water for the recommended rehydration period. The official sources consulted give different windows:
| Source | Soak time |
|---|---|
| Iowa State University Extension and Outreach (2026) | 1 to 2 hours, after pruning damaged roots |
| Arbor Day Foundation (2026) | 3 to 6 hours |
The two ranges do not overlap, and the sources consulted do not explain the difference. Follow one source’s range in full, either 1 to 2 hours (Iowa State) or 3 to 6 hours (Arbor Day Foundation), and do not mix the two.
Step 3: Inspect for rot, mold and dried tissue
Once the roots have soaked, examine each one closely before planting. Look for three problems:
- Rot: roots that are soft, mushy, slimy, or dark in color.
- Mold: fuzzy or powdery growth on the root surface.
- Dried tissue: roots that are shriveled, papery, or brittle.
Cut any affected root back until the cut surface is firm and light-colored, as in Step 1. The official sources consulted do not specify how much dried tissue can be removed, so judge each cut by the color and firmness of the exposed wood.
How deep and wide should the hole be?
For a bare root tree, the hole is sized from the root spread, and its depth is set by the trunk flare, not by the length of the roots. According to Iowa State University Extension and Outreach (2026), the hole should be 2 to 2.5 times wider than the root spread, and the tree should be set so the trunk flare sits at the soil surface. Measure the spread with the roots fully extended, then dig the hole to that width before checking the depth.
The trunk flare is the point where the trunk widens into the root system. Locate it by looking for the change in trunk thickness at the base, then set the tree so that this point is level with the surrounding soil. Setting it lower buries the flare, and setting it higher exposes roots that should stay underground.
The graft union is a bulge on the trunk, often on grafted nursery stock. It sits 1 to 3 inches above the flare, so when the flare is at grade, the graft union stays visibly above the soil line. Do not mistake this bulge for the flare when you set the depth.
| Element | Placement rule |
|---|---|
| Hole width | 2 to 2.5 times the root spread |
| Trunk flare | Exactly at the soil surface |
| Graft union | 1 to 3 inches above the flare |
Use a straight length of wood or a rule laid across the hole to check that the flare is level with the ground before you spread the roots. Checking the depth at this stage, before backfilling, is easier than correcting it afterwards.
How do you plant and backfill step by step?
Planting a bare root tree follows a fixed sequence: build a cone-shaped mound in the hole, set the tree on it and spread the roots, backfill with original soil, firm the soil by hand, and water at two points during backfilling. According to Iowa State University Extension and Outreach (2026), the roots should be spread evenly over the mound without twisting or kinking. Each step below describes one part of that sequence.
| Step | Action | Key detail |
|---|---|---|
| 1 | Build the mound | Shape a cone of soil in the centre of the hole |
| 2 | Set and spread | Place the tree on the mound and spread roots evenly |
| 3 | Backfill | Refill with the soil removed from the hole |
| 4 | Firm | Press the soil by hand as you fill |
| 5 | Water twice | Water at about three-quarters backfilled, then at grade |
Step 1: Build the cone-shaped mound
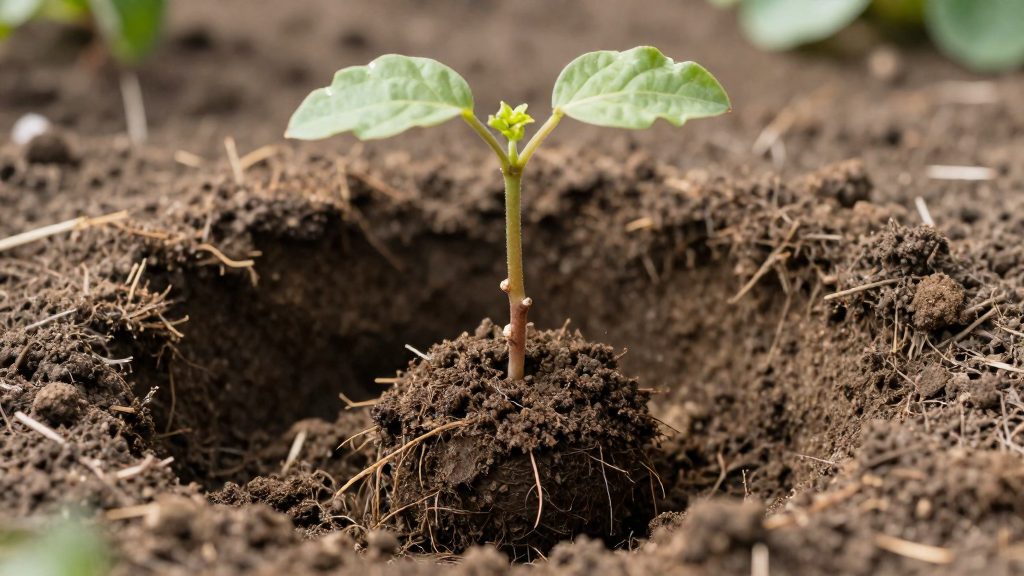
Place a mound of loose soil in the bottom of the hole and shape it into a cone. The top of the mound holds the trunk at the correct height, and the roots drape down its sides. Use the soil from the hole for the mound so the tree rests on material that matches the surrounding ground.
Step 2: Set the tree and spread the roots
Lower the tree onto the mound and spread the roots outward and down its slopes. Work them into position one at a time so none crosses over another or curls back on itself. Roots that are twisted or kinked at this stage remain that way once the hole is filled.
Step 3: Backfill with the original soil
Refill the hole with the soil you removed from it. Add the soil in layers around the roots rather than dumping it in one pile. According to Iowa State University Extension and Outreach (2026), no compost, sand or moss is added. Arbor Day Foundation (2026) advises against adding peat, bark, fertilizer or potting soil.
Step 4: Firm the soil by hand
As each layer goes in, press it firmly with your hands to settle it against the roots. Work from the outside of the root mass toward the trunk, and avoid pressing directly on the trunk. Firming by hand keeps the soil in contact with the roots without compacting it with tools.
Step 5: Water at three-quarters and at grade
Water the first time when the backfill is about three-quarters done. This settles the soil around the roots while the hole is still partly open. Finish backfilling until the soil reaches the surrounding grade, then water a second time. Those two waterings complete the planting process, and the schedule that follows is covered separately.
Do bare root trees need staking?
Staking is optional for bare root trees. The Iowa State University Extension and Outreach (2026) guidance is conditional, saying “if staking,” and the official sources consulted do not specify criteria for deciding whether a particular tree needs support. When staking is chosen, the same source sets the method: two or three stakes set in undisturbed soil, held by wide, flexible ties that allow some movement, and removed the following spring or sooner.
| Parameter | Guidance |
|---|---|
| Stake count | 2 or 3 |
| Stake placement | Undisturbed soil, outside the area dug for the planting hole |
| Tie type | Wide and flexible, allowing some movement |
| Removal | The following spring or sooner |
Stake count and placement
Use two or three stakes. Use two or three stakes, as the Iowa State University Extension and Outreach (2026) guidance specifies. Drive each stake into soil that has not been loosened for the planting hole. Stakes set in disturbed backfill can shift as the soil settles, so placing them in undisturbed ground keeps the anchor stable.
Tie type
Use wide, flexible ties that hold the trunk without locking it in place. The sources describe ties that allow some movement, so a rigid or narrow tie that clamps the trunk does not match this guidance. Check ties periodically so they do not become tight against the bark as the tree grows.
Removal timing
Remove the stakes the following spring or sooner. The support is intended to be temporary, so stakes should not stay in place as a permanent fixture. Mark the calendar for the spring after planting so the stakes and ties are taken out on schedule.
How do you water and mulch after planting?
Bare root trees depend on consistent moisture while their roots become established, and the watering routine changes over the first three growing seasons. Arbor Day Foundation (2026) recommends deep watering every 7 to 10 days during dry weather in the first year. The sections below cover the first-season checks, dry-spell watering, the soil ring, and the mulch layer.
Check the tree in the first season
During the first growing season, inspect the tree once or twice a week. Check the soil around the roots once or twice a week and water when it is dry. In dry weather during the first year, the Arbor Day Foundation (2026) recommends deep watering every 7 to 10 days, so the soil check tells you when watering is needed and the interval is the guide for dry spells.
Water during dry spells in years two and three
In the second and third seasons, the tree needs watering during dry spells. In the second and third seasons, water the tree during dry spells. The official sources consulted do not specify a fixed interval for these later seasons.
| Period | Watering action |
|---|---|
| First year, dry weather | Water deeply every 7 to 10 days |
| Years two and three | Water during dry spells |
Build a soil ring
Form a soil ring around the base of the tree to hold water where the roots are. The ring keeps irrigation water from running off the root zone. The official sources consulted do not specify ring dimensions, so adjust its diameter to the planting site and the tree’s root spread.
Mulch the base
Spread mulch about 2 inches deep over an area roughly 3 feet in diameter around the base. Mulch conserves soil moisture and reduces competition from surrounding growth. Pull the mulch back from the trunk so that it does not touch the bark.
Common mistakes to avoid
Several errors on bare root trees happen after the tree is in the ground. The sources consulted point to three errors to avoid: adding fertilizer or other amendments at planting, piling mulch against the trunk, and leaving the tree unprotected where rabbits, deer or other wildlife use the site. The table below adds two practical precautions that the sources do not cover.
| Mistake | Why it matters | Practical step |
|---|---|---|
| Mower and trimmer damage to trunk bark | Equipment that strikes the base of a young trunk wounds the bark. | Keep the mulched area clear of grass and treat it as the no-mow zone. |
| Overlooking the label and rootstock information | The label is the only written record of what the tree is grafted onto. The official sources consulted do not specify rootstock-specific care. | Keep the nursery tag until planting is complete, and record the variety and rootstock it lists. |
Fertilizer at planting is not recommended. The Arbor Day Foundation (2026) advises adding no peat, bark, fertilizer or potting soil to the backfill.
Mower and trimmer damage is avoidable with a fixed boundary. The Arbor Day Foundation (2026) recommends mulch 2 inches deep over a 3-foot-diameter area, kept off the trunk, and Iowa State University Extension and Outreach (2026) recommends a soil ring to hold water at the base. Both create a clear zone that marks where equipment should not go, so the trunk stays out of reach of the mower deck and string trimmer.
Leaving the tree unprotected from wildlife puts it at risk. The Arbor Day Foundation (2026) advises fencing the trees, for example with chicken wire, if rabbits, deer or other wildlife use the site.
Frequently asked questions
What if I cannot plant my bare root tree on the day it arrives?
Store it at about 40°F in a cool spot that does not freeze, with the roots packed in damp, not wet, material, according to Iowa State University Extension and Outreach (2026). Wet packing or a spot that can freeze will damage the roots while you wait.
Should I add compost or fertilizer to the planting hole?
No. Refill the hole with the original soil from the site. The Arbor Day Foundation (2026) advises against adding peat, bark, fertilizer or potting soil, and Iowa State University Extension and Outreach (2026) also excludes compost, sand and moss.
Does a young bare root tree need protection from animals?
It does if rabbits, deer or other wildlife use the site. The Arbor Day Foundation (2026) recommends fencing the trees, for example with chicken wire, until they are established.